
 by
by Whether you want to add an inspirational quote, important message or just a handful of words to your image, it’s a good idea to learn some basics of typography design. Because it’s not just about the message that your text sends, but also how it’s presented. If you do everything right, your text on image won’t just look nice and aesthetically-pleasing – it’ll grab people’s attention.
Below are the basic recommendations on how to add text to a photo like a designer.
1. Choose Your Fonts Carefully
The first thing that you should turn your attention to is that your font has to match the overall mood and atmosphere of the image you’re putting your text on. For instance, if you have a moody photo with dark, muted colors and somewhat melancholic atmosphere, you can’t choose a funny and quirky font. These styles are polar opposites; therefore, they’ll definitely clash. In our app to add text to image you have access to an enormous number of fonts. There are all kinds of them – cursive, minimalistic, handwritten, classic, decorative, whimsical, etc. It won’t be a problem to find the perfect font for your text on image.
If your picture has a busy background with plenty of details, consider using a simple, minimalistic font. If possible, you can make it bold to make your text stand out more.
If you have a solid background that has little to no details, you can opt for a thin font or a font of a peculiar style.
Generally speaking, a busy background goes well together with a rather limited number of fonts and typically these fonts are bold and big, yet somewhat simple. Otherwise, your image with the text will look gaudy. On the contrary, a solid background gives you much more room for experimentation because a wide variety of fonts will look harmonious on it.
If you want to add some multi-line text to picture, it’s better to avoid using too many fonts; especially fonts of drastically different styles. You should stick to just one font or use a second one if you want to highlight one bit of your text on image. But don’t use more than three fonts in one image.

2. Make Sure Your Caption is Easily Readable
Your goal is to make it easier for your audience to read the text on your image. The more difficult it will be to make out the words, the more likely it is that people will quickly give up on trying to read them.
No matter what kind of an image you have, you can always increase the readability of your text by using one of the “Effect” options in our “Add Text to Photo” toolkit.
Try to add a shadow effect – it can be black or white! If your image is rather light and you also want your text on image to be light-colored, you can add a black, box-shaped background; this will separate the words from the image.

Another option is to slightly blur the entire image before you add your text to it. Use our Blur Part of Image Online tool for that.
3. Be Intentional With the Color
This goes without saying, but if you have a dark background, then it’s better to go for a light color for your text on image and vice versa.
But aside from that, you can also use colors wisely.
For instance, for your text you can choose the color that’s already in your photo – maybe in its small elements. Although, it might be better to go for a slightly different hue or shade to avoid your text blending in with the background.
You can also use some common color schemes to achieve color harmony. It can be a scheme based on analogous or complimentary colors.
For instance, if you have a lot of greens in your image, you can make your text purple, because green and purple are complimentary colors. This way your text on image will truly pop and look harmonious.
4. Choose the Right Size and Placement for Your Text
Technically, you can make your text of any size and place it anywhere you want within the image. However, text that is too small can be unreadable, whereas text that is too big can be too obtrusive and distracting.
If you want your text to occupy only a part of your image, there are a few options that you have for its placement. You can place your text in the center – our app has guiding lines that will help you with that. Another option is to find an area that barely has any details and put your text on image there.
It’s better to avoid covering people’s face or the main subject of your image. You can also use some basic rules of compositions – for instance, the rule of thirds – to find the ideal placement for your text on image.
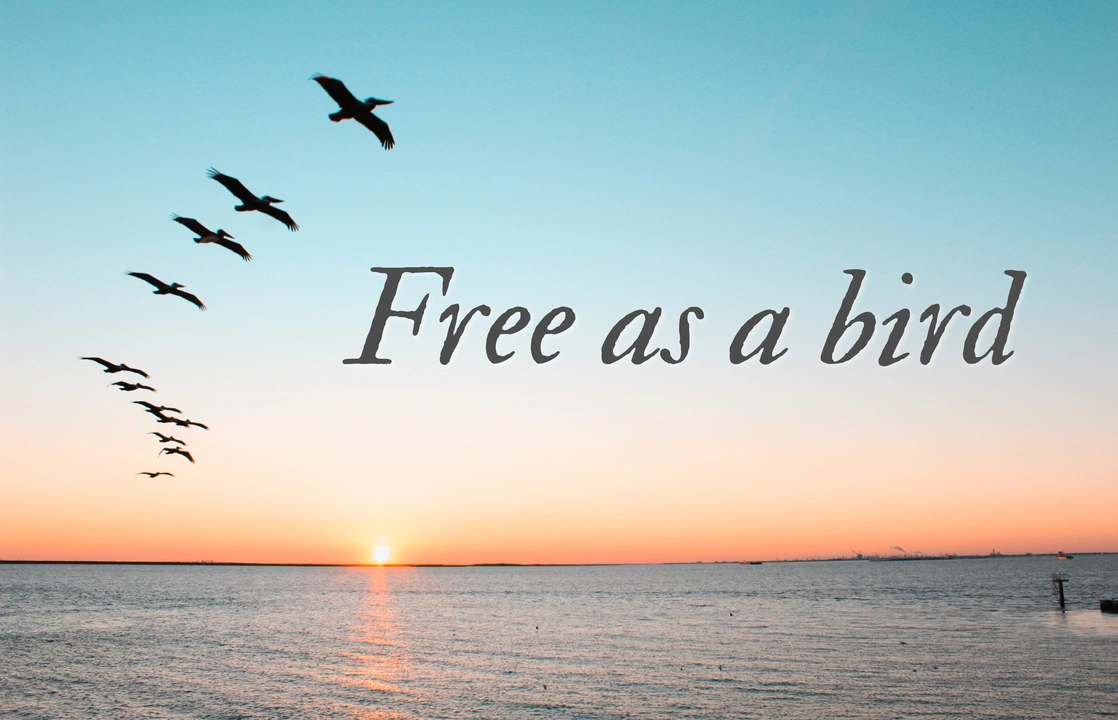
Naturally, if you want to, your text can cover your entire image completely. For instance, it’s a great option for landscape photos.