
 by
by What exactly does it mean to make a photo transparent? Well, to some people it might mean changing the transparency of the overall photo. For instance, you can make it semi-transparent or even barely visible.
To others, it might mean making only a part of a photo transparent, e.g. the background. Finally, it might simply mean creating a completely transparent image file.
Knowing how to make some parts of an image transparent as well as how to change the transparency of your entire photo can be incredibly useful if you are a designer, content creator or even an entrepreneur who promotes their brand online.
In this guide you will learn how to create a completely transparent image in Photoshop. It also features detailed instructions on how to adjust the transparency of a photo as well as how to remove the background or any other part of an image.
Why Make An Image Completely Or Semi-Transparent
It’s worth mentioning right away that there’s pretty much only one reason to create a completely transparent image – so that you could use it as a background in a collage or some other design.
Meanwhile, there are at least a few reasons to change the transparency of an entire image or only a part of it. Here are the most common ones:
Achieving a Cleaner Look
Say, you need to do product photography for your online shop yourself, yet you don’t have a monochrome backdrop. If that’s the case, you should make the background transparent, then replace it with white solid color digitally. This way, your product photos will look neat and professional.
Adding watermarks
If you want to watermark your visual content with your logo, but the logo itself is on a monochrome background, it might be a good idea to remove it. A logo with a transparent background will blend into any visual content or even documents more seamlessly. In addition to this, you might also need to change the opacity of your logo, too, so that it wouldn’t be too distracting.
Insert into documents
Speaking of documents, another reason to remove the background might be to insert an image or even a logo into your document. If your image has a monochrome background, it will probably look unprofessional in a document. So, to make it look more polished, you will need to make its background transparent. Moreover, this tends to be true for visual content that you want to publish on your website, too.
Creating collages
You’ve probably noticed that more and more people post collages on social media. It’s actually a really creative way to present your visual content. So, you might need to make an entire image more transparent to use as a background in your collage. This way, it will fit in more organically.
How To Make An Image Transparent In Photoshop
First, let’s see how you can create an image that is completely transparent. This is pretty easy to do in one of the most powerful, advanced image editors – Adobe Photoshop.
Just follow these steps:
- Open Adobe Photoshop and click on the New File button.
- In the New Document dialog box enter the necessary values for the pixel dimensions and resolution. For instance, your image can be 2000x2500px with 100 pixels per inch.
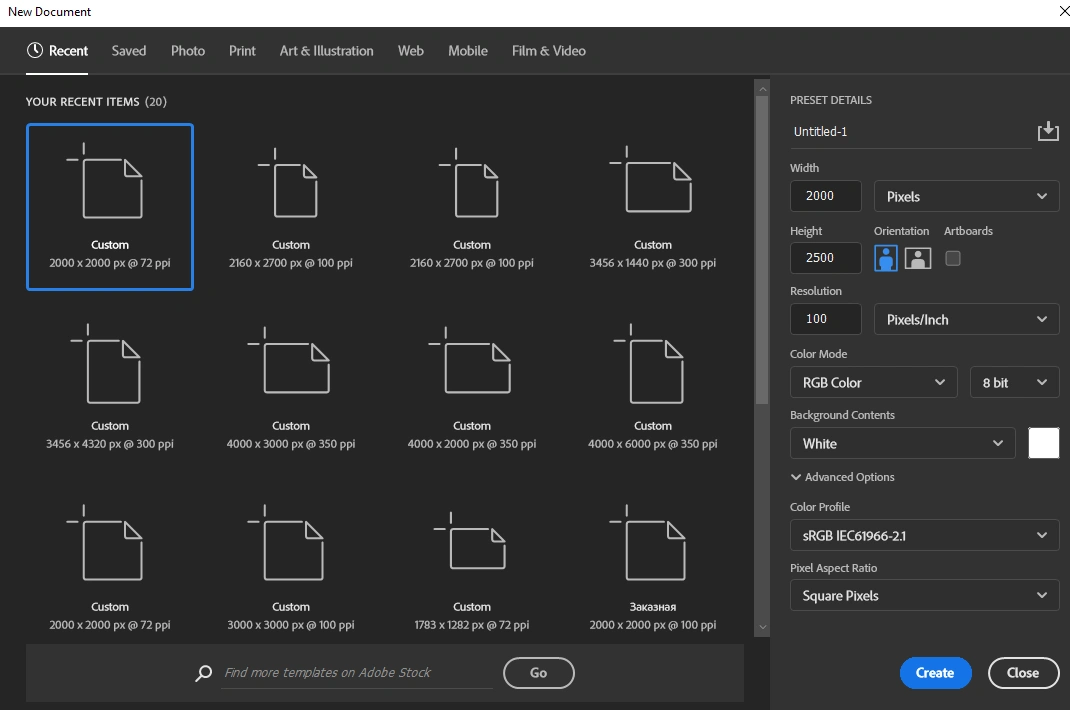
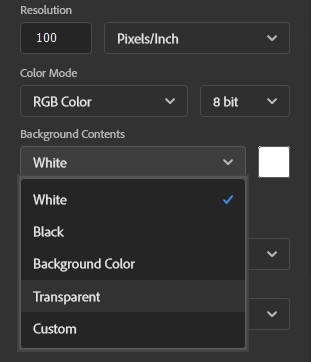
- Click on the Background Contents to open the drop-down list and select the Transparent option.
- You can make some other changes, if necessary, then click on Create.
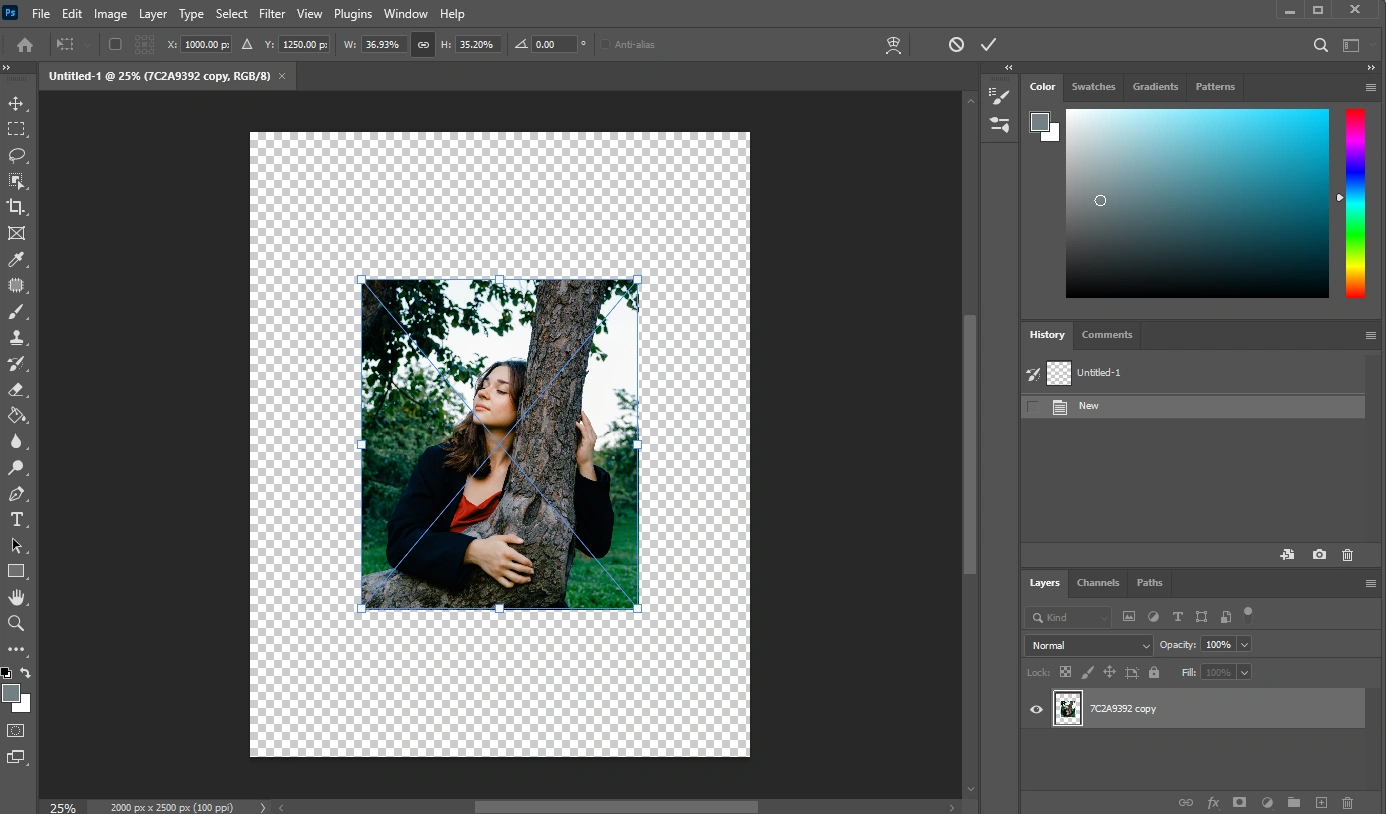
- Voila! You have a completely transparent image! The checkered pattern indicates transparency.

- Now you can either drag and drop your photo or graphics image onto this transparent one or you can export this transparent image to use it as a file in the future.
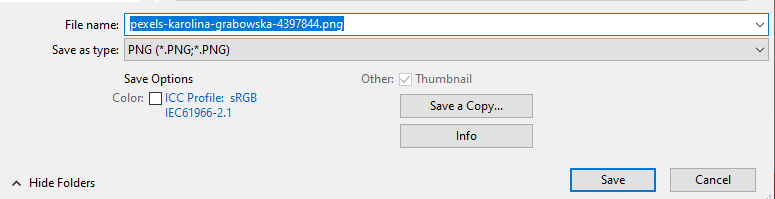
- To export your transparent image, go to File > Save As.
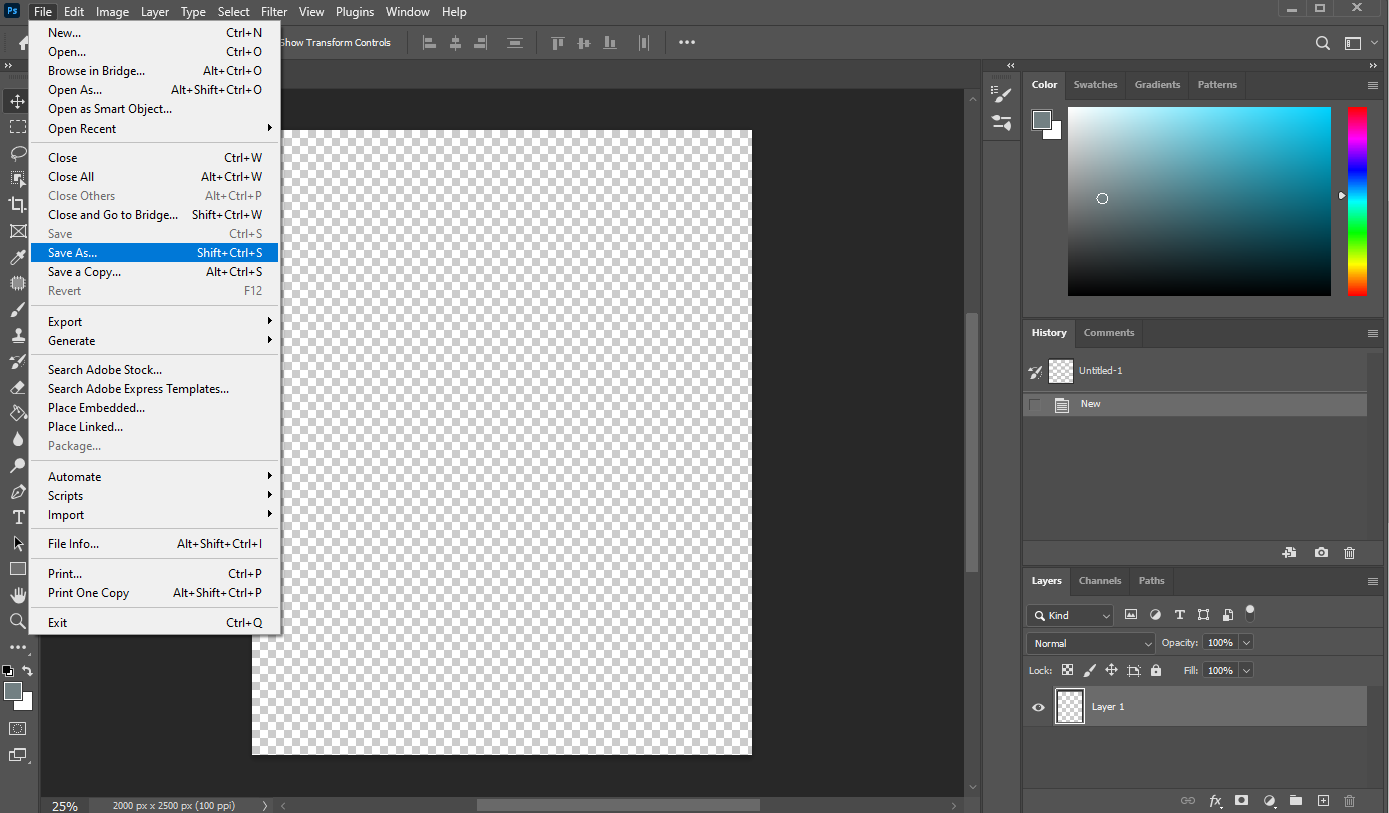
Choose the PNG format and name your file. If you don’t like PNG, you can also go for GIF or SVG, but these formats are not as broadly supported as PNG. Please make sure not to choose JPG. This is due to the fact that JPG doesn’t support transparency. PNG, GIF and SVG do.
That’s it!
How To Make A Photo Semi-Transparent In Photoshop
What if you simply need to adjust the level of transparency without making your photo completely transparent? It’s also possible in Photoshop!
Here’s how you can do it:
- Import the necessary image into Photoshop by going to File > Open. It’s also possible to simply drag and drop your image.
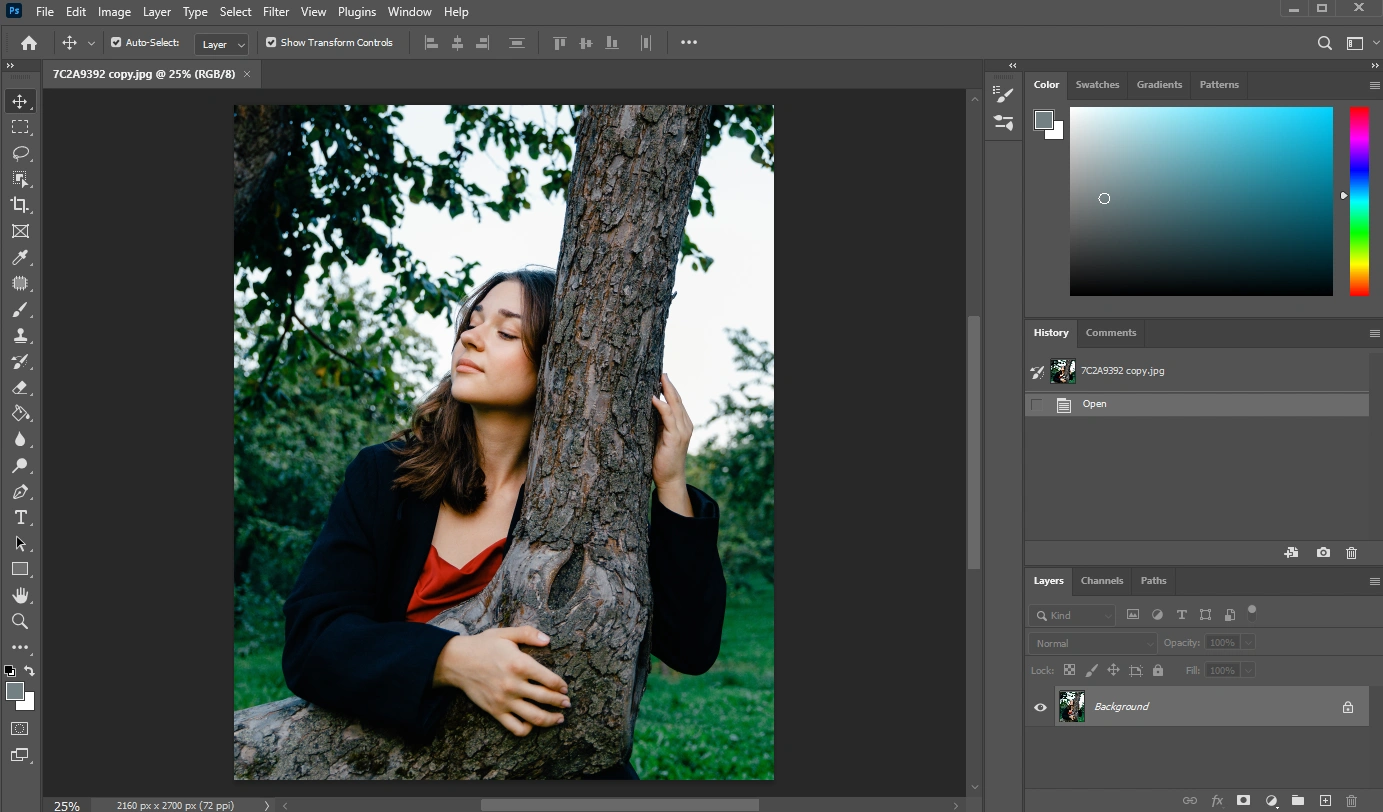
- In the Layers panel you will see that there’s only one layer called Background and it’s locked. You need to change that.
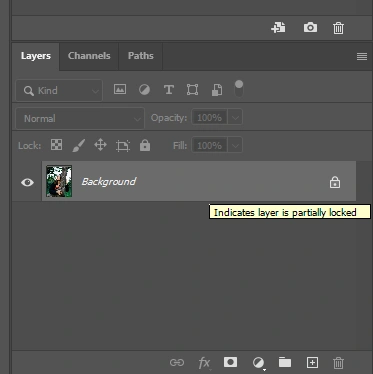
- Simply click on the lock icon and your layer will be unlocked.
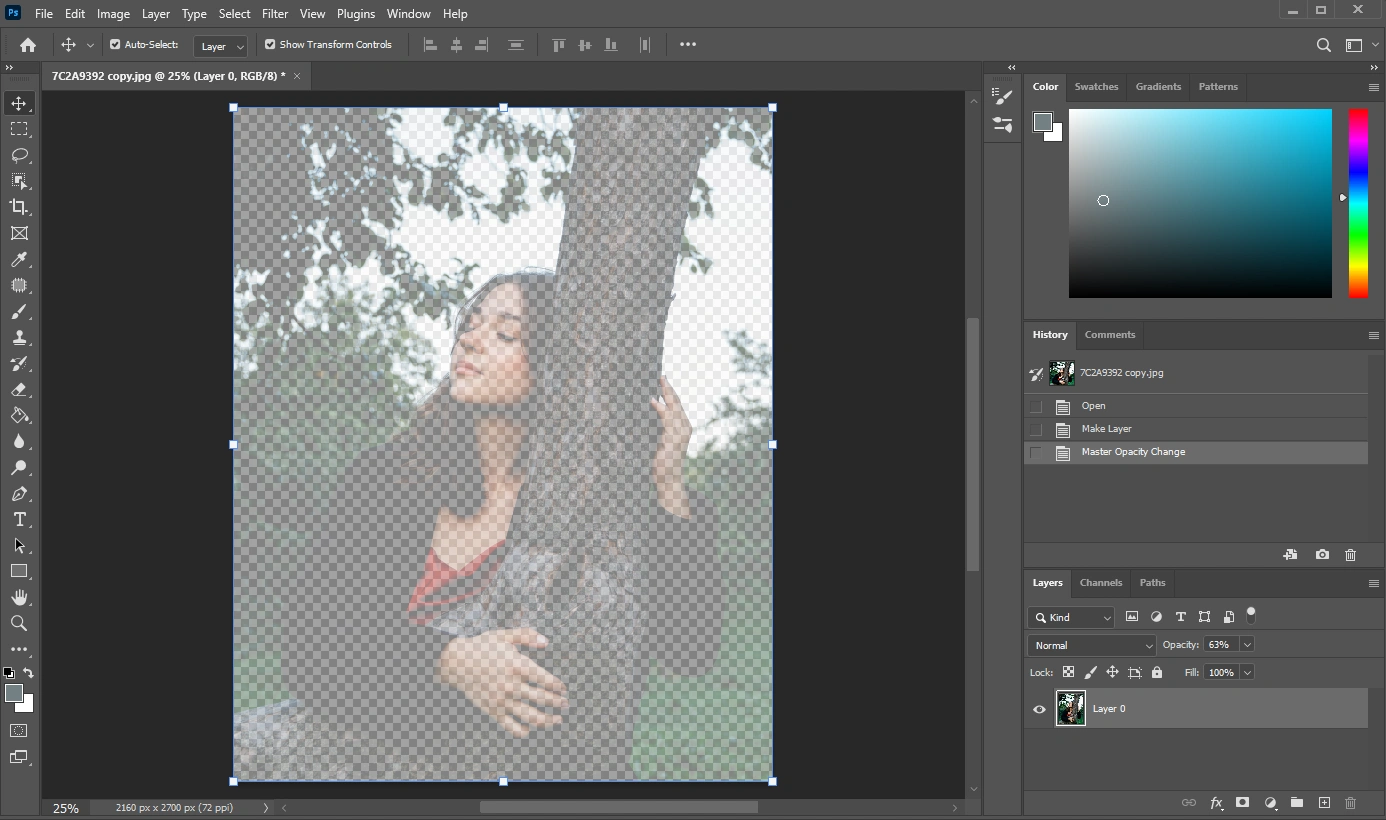
- In the same Layers panel, click on the Opacity, then toggled the slider to change the opacity of your image. If you want to be more precise, you can enter the exact number of percent.

- As you can see, your image is semi-transparent now.
- To save your image, go to File > Save as or Export as, then name your edited image and save it. What you need to keep in mind here is that your image is now on a transparent background. If you save it as a PNG file, the transparency will be preserved, and your image will be kind of see-through.
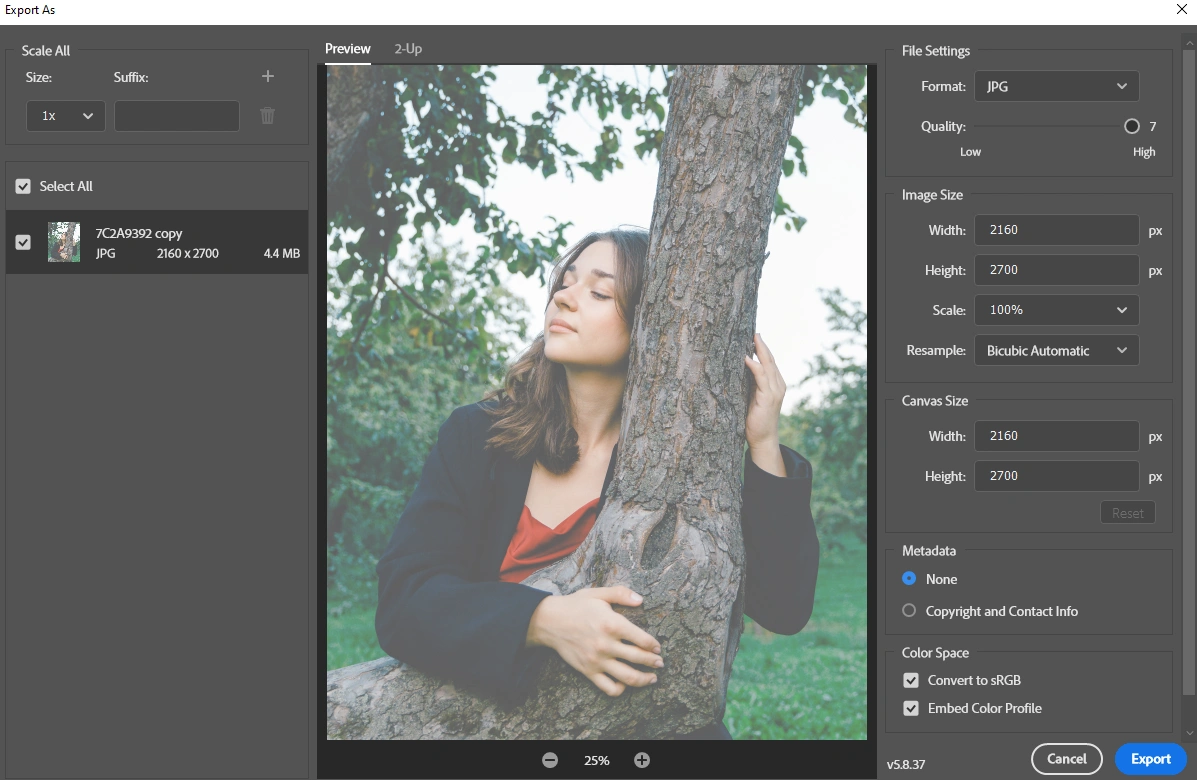 But if you save it as a JPG file, your image will be on a white background.
All done! It’s incredibly easy, right?
How To Make The Background Transparent In Photoshop
This can be quite useful if you want to replace the background or use an image as a watermark. It’s not overly complicated, but please note that it might require some time and practice if you are a beginner at Photoshop.
Let’s take a look how you can make the background of your image transparent:
- Import the necessary image into Photoshop, then unlock the Background layer in the Layers panel.
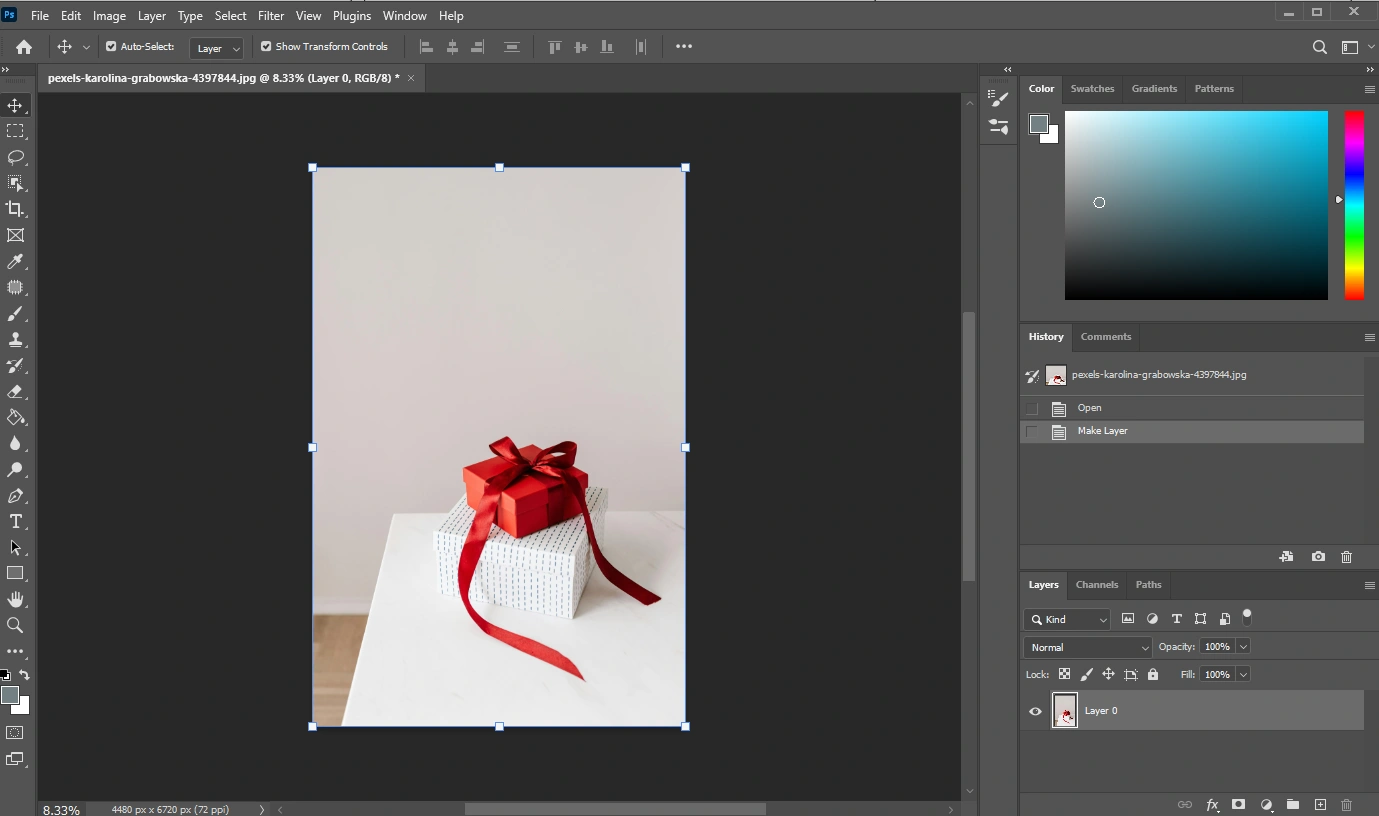
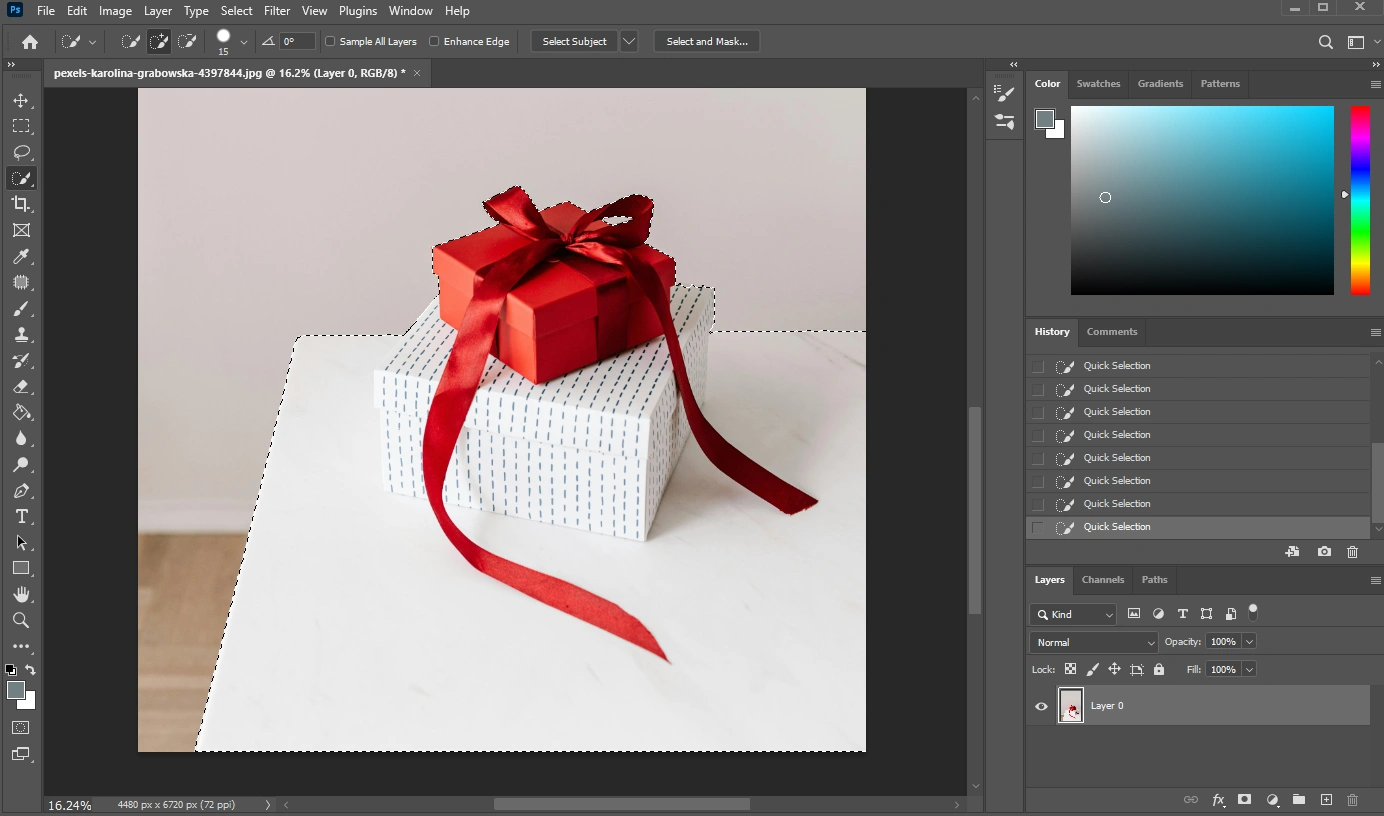
- To remove the background in Photoshop, you will need to select your subject. In other words, you will need to select the area that should be kept and only then remove everything else. This can be done with the Pen Tool, Lasso Tool, Layer Mask and a couple of others. We have detailed instructions on how to cut out an image in Photoshop using each of these tools, so check it out.
- Once you’ve made and refined the selection, click on the Layer Mask icon at the bottom of the Layers panel.
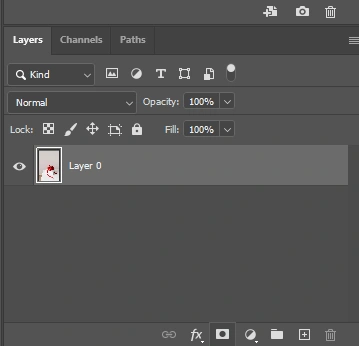
This will create a layer mask and make everything outside the selection invisible.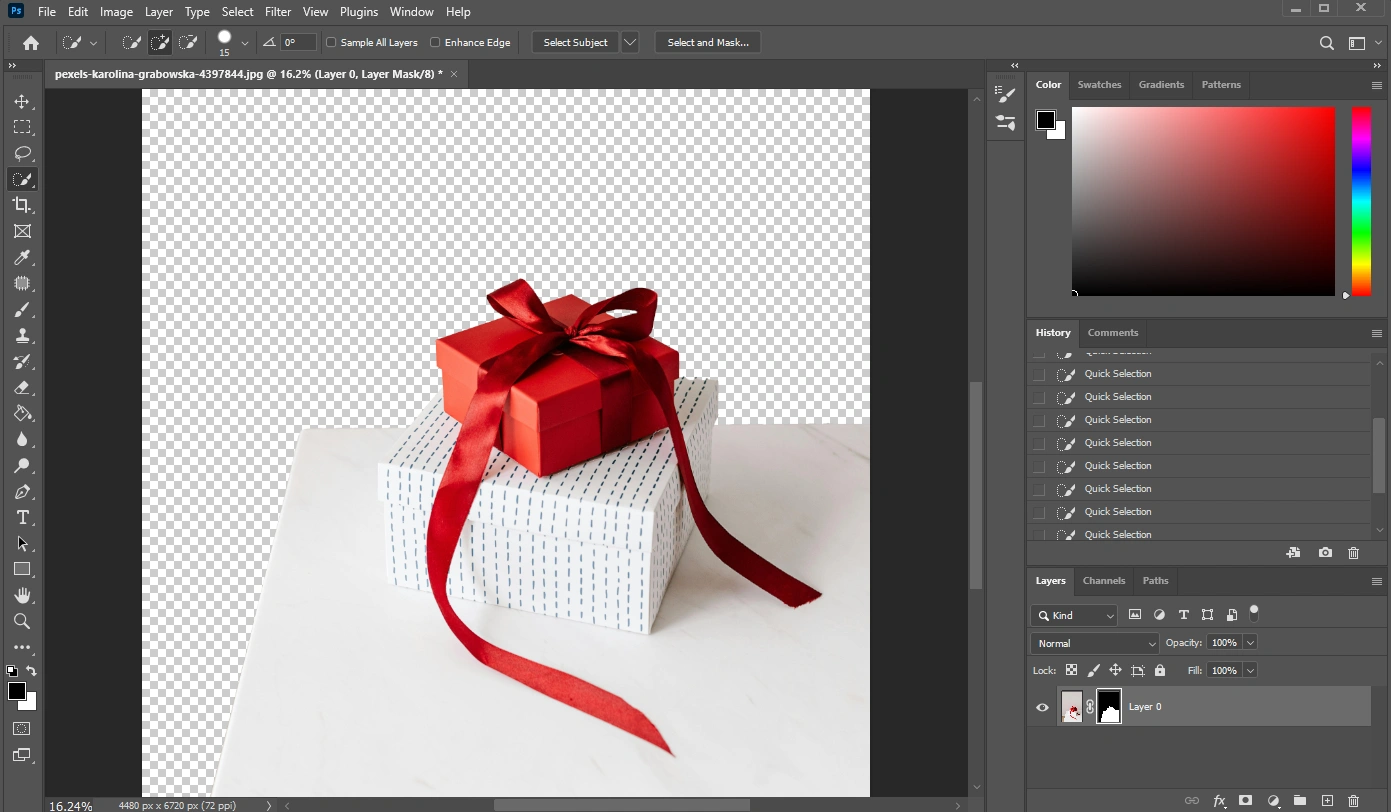
- Are you ready to export? Go to File > Save as, then name your file and select PNG as your file format.
And that’s how you can remove the background in Adobe Photoshop! The hardest part is to create a precise selection of the area that should be kept.
How To Make A Photo Transparent Using Canva
Hands down, Adobe Photoshop is incredible and you can use it for lots of different tasks. But it’s quite complex and might not be very useful if you only need to do some basic image editing. Canva is an amazing alternative! Yes, some tools and features are only available in the paid version. But you can easily use it to adjust the transparency of your image with minimum effort and for free:
- Log into your account, then open Canva’s dashboard.
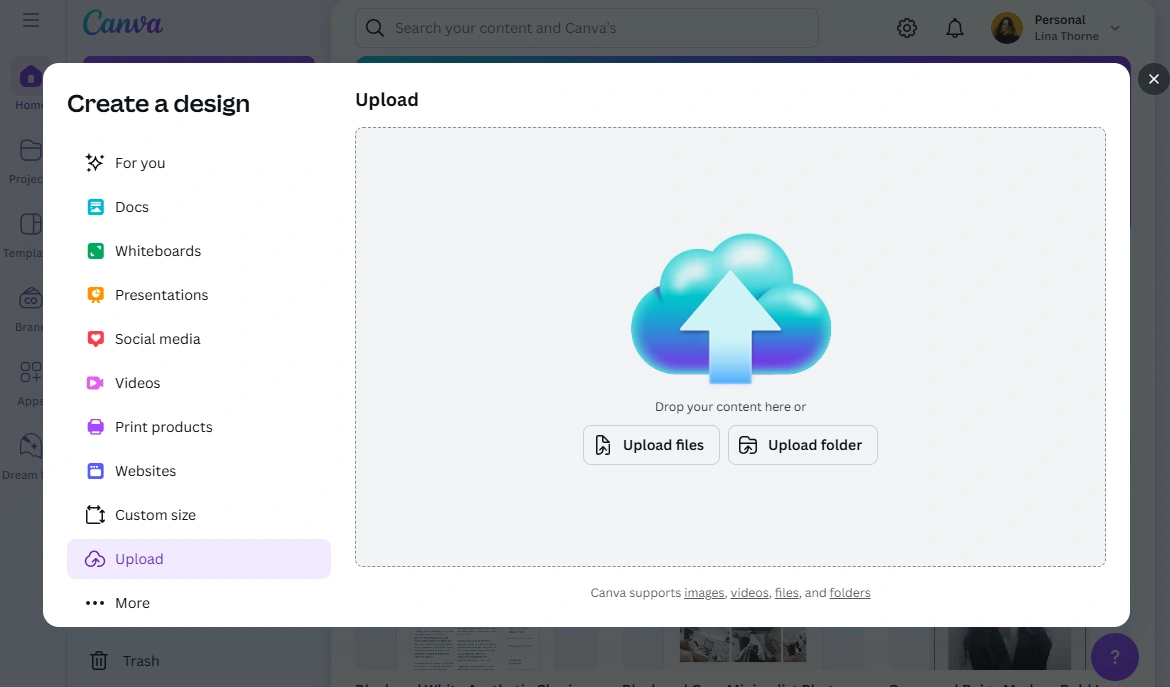
- Go to Create a design > Upload, then find and import the necessary photo.
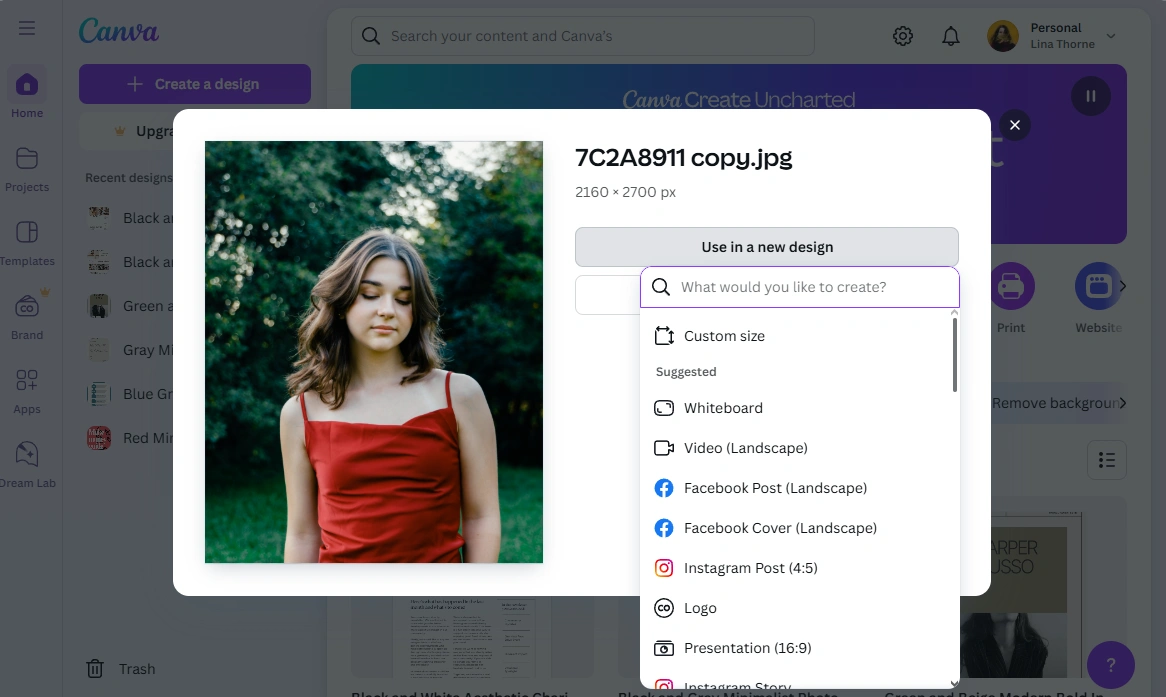
- Click on Use in a new design. You can resize your image by choosing a different image size. If you want to keep the original pixel dimensions, select Custom size.
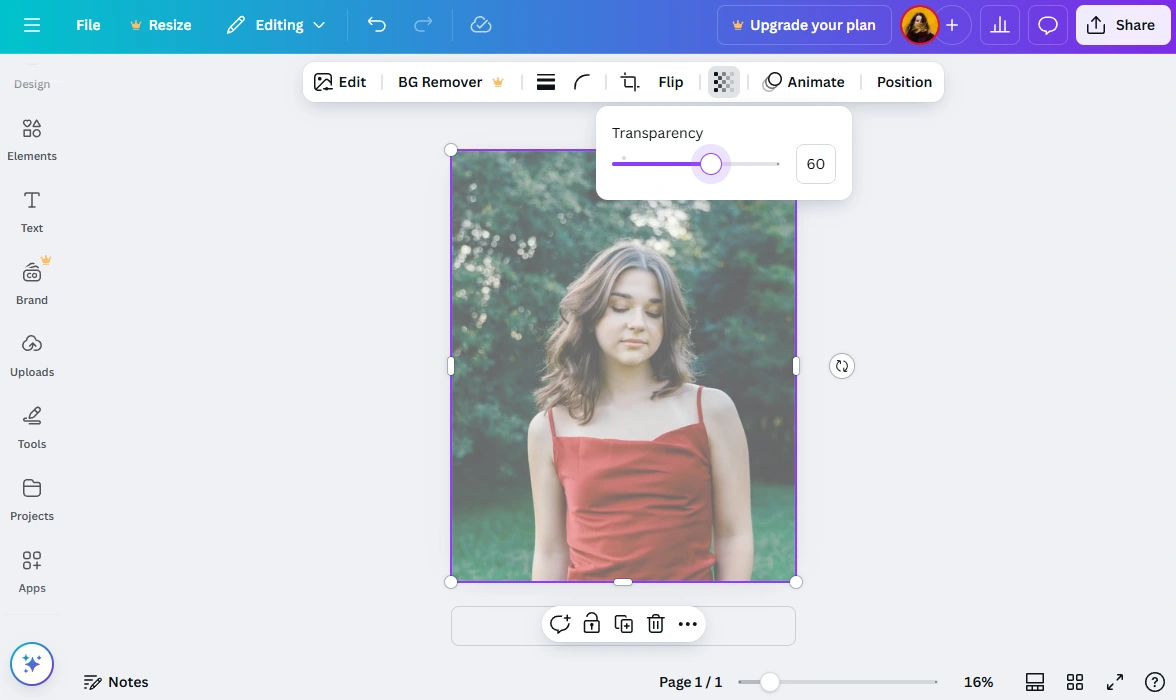
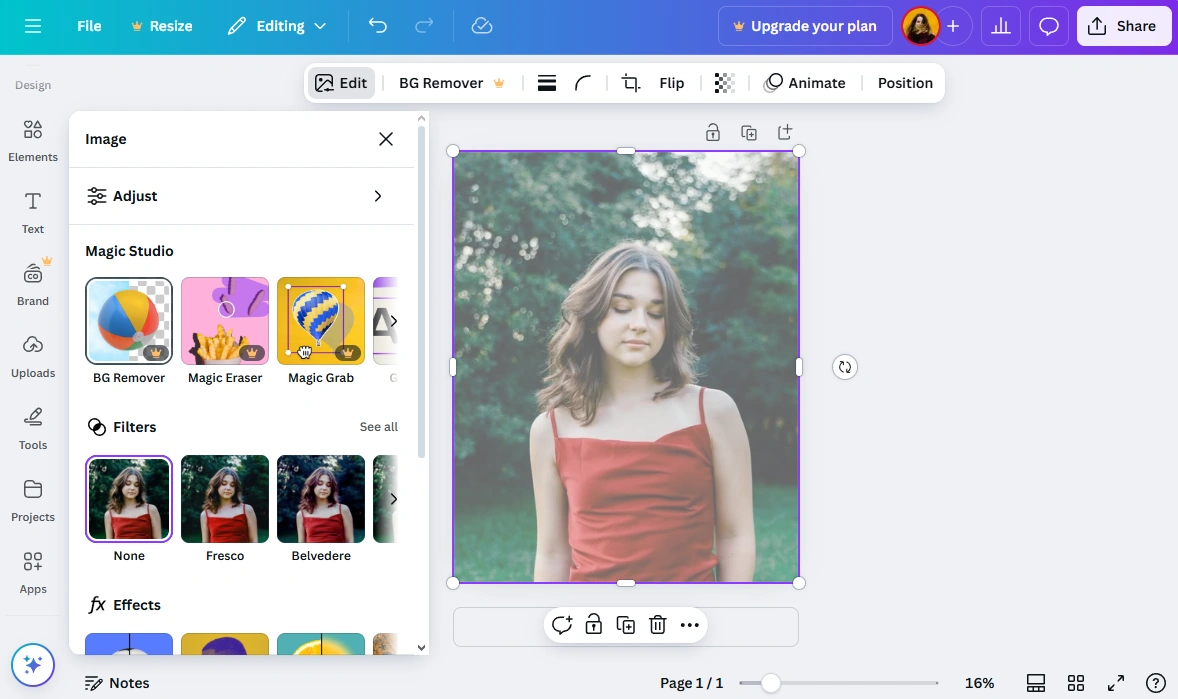
- Once your image is open in the editor, click on it. You will see several tools appear at the top.
- Click on the Transparency button.
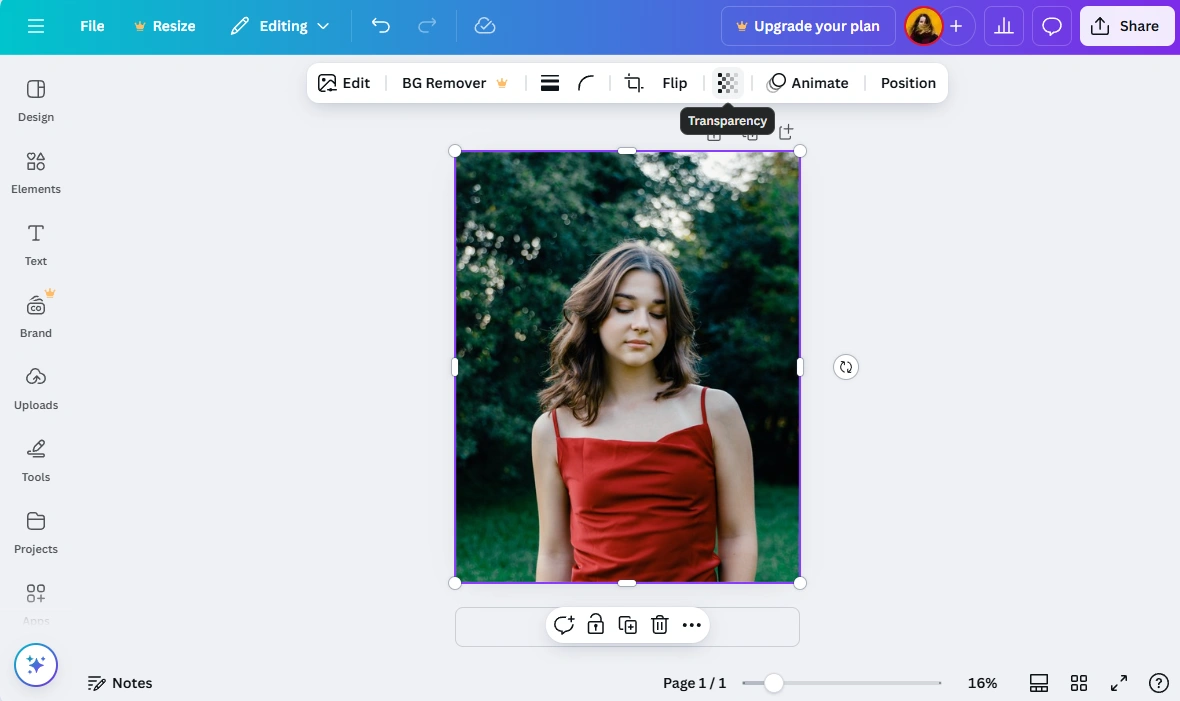
- Adjust the Transparency slider to make your image more transparent. You can make it barely visible if you want to.
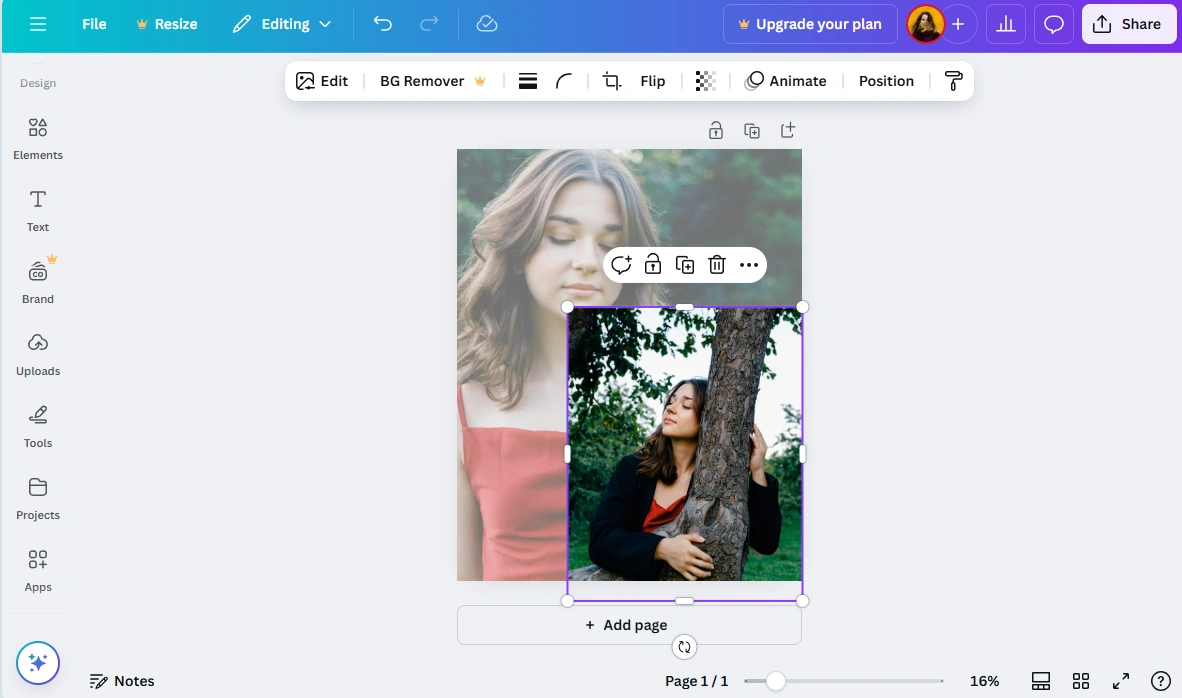
- Canva has a very versatile toolkit and an extensive selection of templates, so you can make lots of other changes to your image. In fact, you can create an eye-catching collage for your Instagram post, for instance, right in the editor.
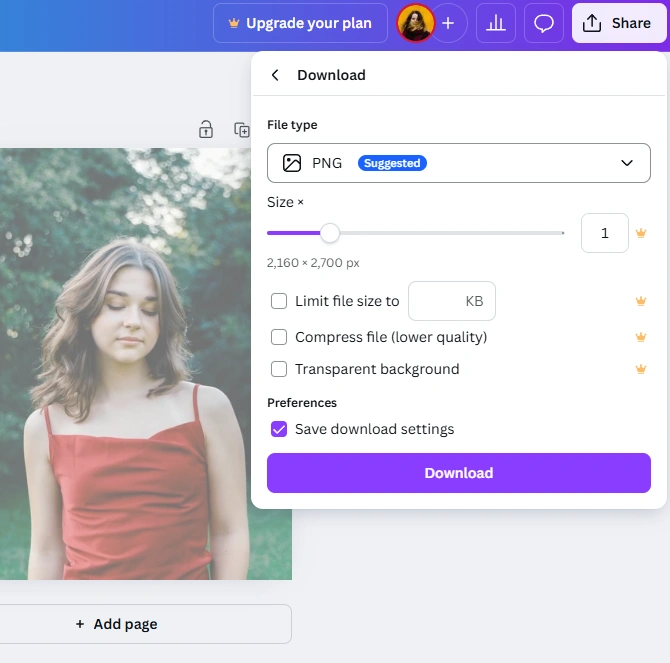
- To export your edited image, go to Share > Download. Select JPG or PNG as the image format.
That’s it!
Canva also offers the Remove Background feature, but it’s available only in Canva Pro. And you can export a PNG file with transparent background only in Canva Pro, as well. So, if a part of your image has to be transparent, you will need to get the paid version. This is also why it doesn’t matter whether you choose PNG or JPG if you are using the free version. The transparency won’t be supported anyway.
How To Make A Photo Transparent Using Microsoft Word
This may come as a surprise, but you can change the transparency of an image in Microsoft Word. So, if you happen to have it, here’s what you need to do:
- Open MS Word and create a new document.
- Go to the Insert tab and select Pictures, then choose where you want to import the necessary image from.

- Once your image is inserted into the document, click on it and go to the Picture Format tab in the ribbon. This tab won’t appear if the image is not selected.
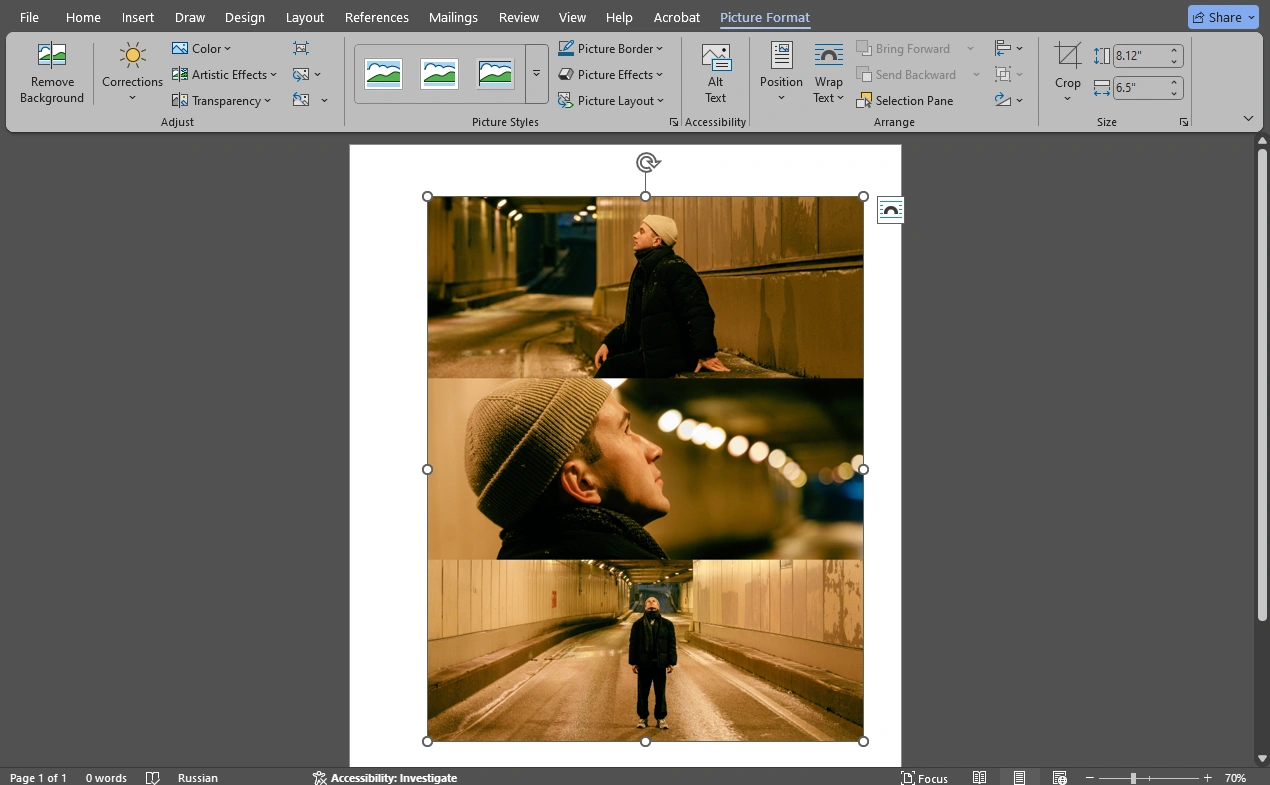
- Click on Transparency and pick one of the ready-made presets.
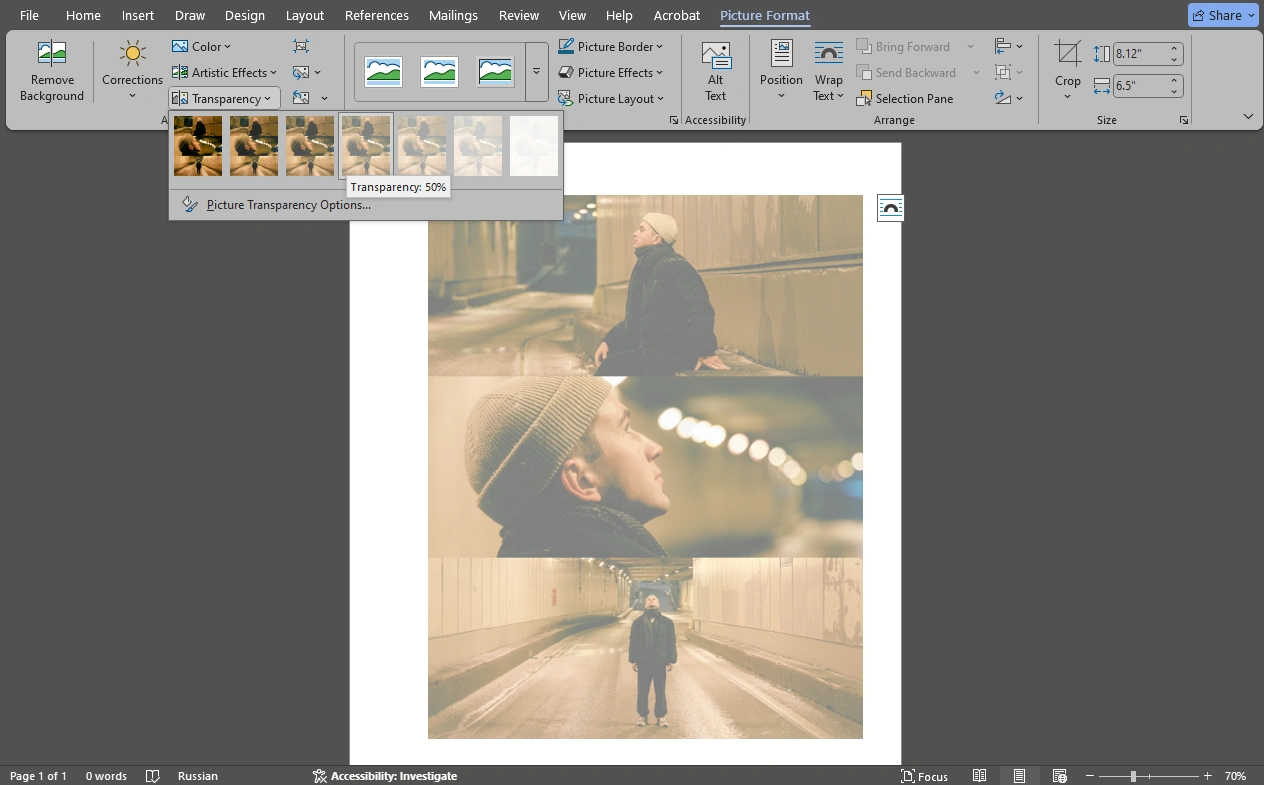
- If you want to be more precise, select Transaprency Picture Options.
- A panel on the right will appear. Toggle the Transparency slider or enter the exact number of percent.
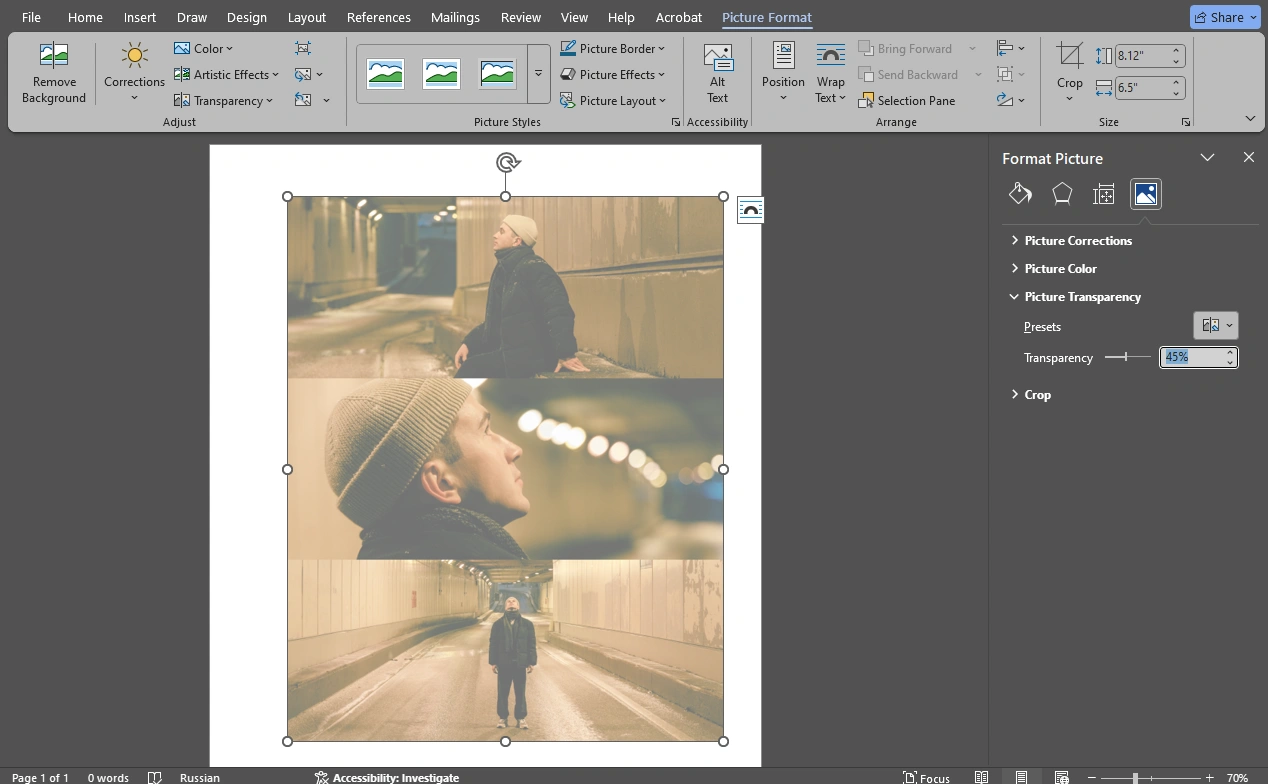
- To apply the changes, close the Format Picture panel.
- Finally, right-click on your semi-transparent image and choose the Save as Picture option. Name your image and save it as a separate file. Nothing will happen to the original. Please note that with this option your image will be saved as JPG. So, it will be on a white background.

That’s it! As a matter of fact, you can do the same in MS PowerPoint if you like it more. The steps are pretty much the same – at the beginning you will need to create a new blank slide instead of a new document.
Blur An Image Instead Of Making It Transparent
Let’s say that you want to make your image more transparent to use as a background in a collage. Well, what if instead of lowering the transparency, you will simply blur the image? It can be done quickly and with minimum effort using Visual Watermark’s blurring app:
- Go to Visual Watermark’s website and open the blurring app.
- Import the necessary image.
- Please note that if your image contains any faces, the app will automatically blur them. So, you will need to remove these blurred areas by clicking on them, then clicking on the bucket icon.
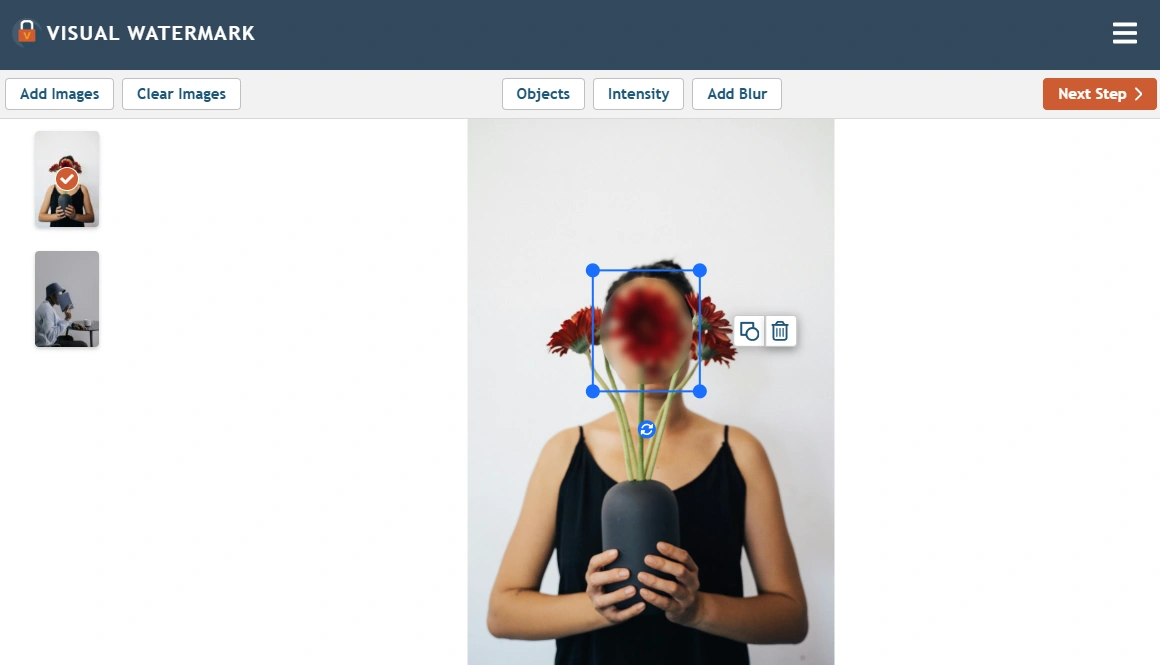
- Click on Add Blur. Make sure that the blurred area is rectangular.
- Drag the edges of the blurred area to resize it. You need the blurred area to cover the entire image. Although, you can also get a little creative if you want – for instance you can blur only half of your image.

- Use the Intensity slider to make the blur more or less intense.
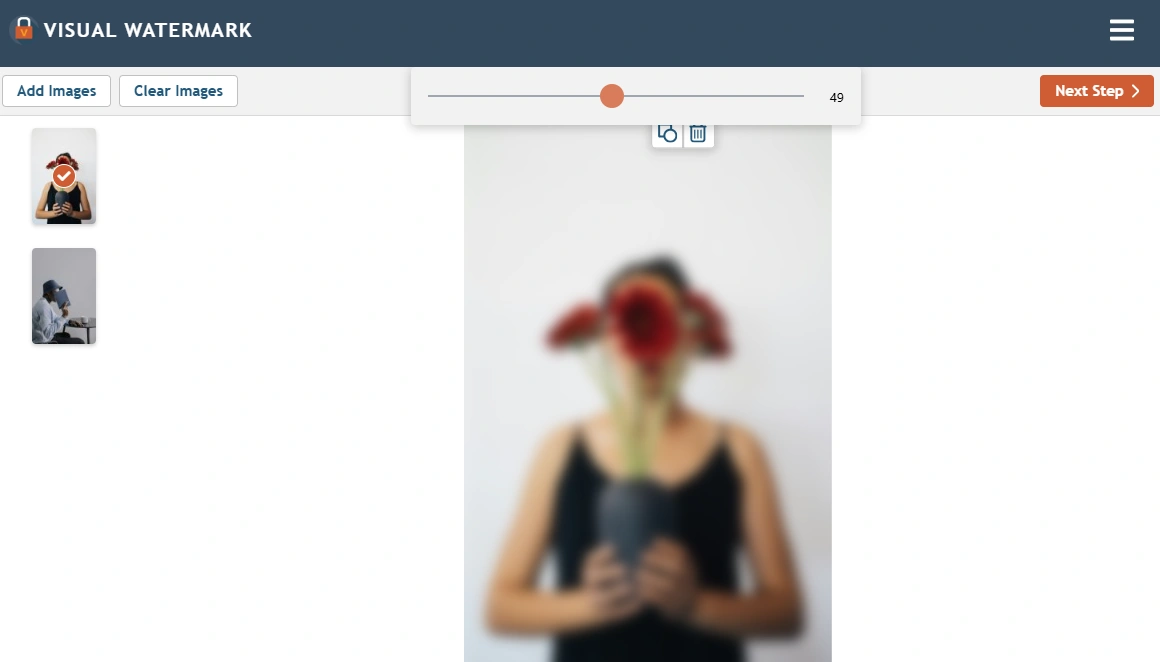
- Go to the export settings by clicking on Next Step, specify them, if necessary, then start the processing. When it’s finished, download your blurred image.
A blurred image might fit into your collage even more organically!
How To Make A Part Of An Image Transparent Using Preview
Yep, if you are a Mac user, you don’t really need to resort to using Adobe Photoshop or Canva. You can make the background or any other part of an image transparent using the built-in app, Preview:
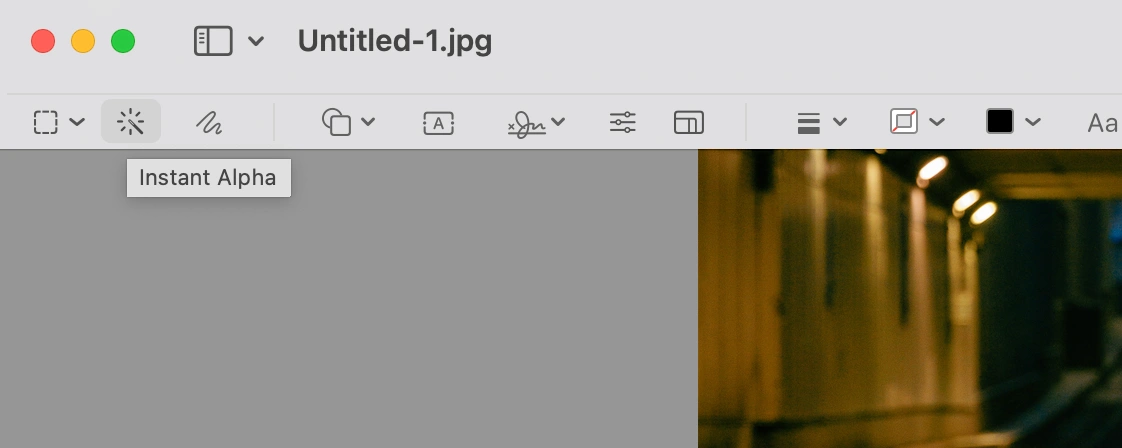
- Open the necessary image in Preview, then click on the Markup Tool icon.

- Click on the button that looks like a magic wand. This is the Instant Alpha tool.
- Now select the area that you want to remove. That’s right. In Photoshop, you had to select the area that you wanted to keep. Here it’s the exact opposite. So, keep in mind that all the areas colored with red will be removed.
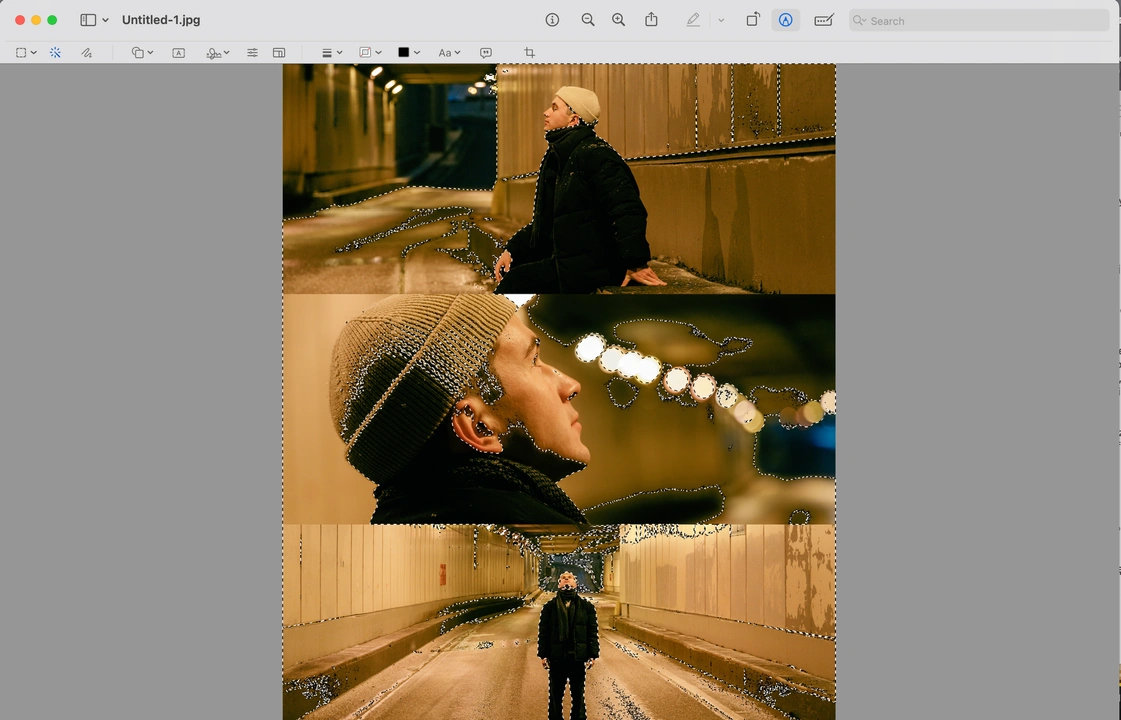
- There’s a high chance that you won’t be able to select the entire background at once. That’s okay. Just select as much as you can, then press the Delete button.
- Repeat this process until all the unnecessary areas are removed.
- When you’re done, go to File > Export, then save your edited images as a new file in the PNG format.
This process isn’t too overly complicated, but it might be a bit time-consuming and even tricky at times.
Here’s a tip
There are plenty of online tools and mobile apps that can be used for free for making an image semi-transparent or removing the background. For example, LunaPic offers the Alpha Transparency Tool which can make your image semi-transparent.
In addition to that, this website also offers the Background Removal tool. The process of using online or mobile apps is pretty similar. You upload your image, adjust the opacity or wait for the AI algorithms to detect the background, then remove it.
Some background removers allow you to refine the selection of the main subject, as well. Then you simply download the result.
How To Make An Image Transparent To Add It As A Watermark
Do you want to make a photo transparent to use it as a watermark? This can be easily done in a watermarking app. For instance, in Visual Watermark, which is a batch-watermarking desktop app that can be used on Mac and Windows.
You will be amazed how easy this is:
- Open Visual Watermark and import the photos that you need to watermark, then click on Next Step.
- Click on Add Logo > Upload Logo From File, then upload the image that you want to use as a watermark.
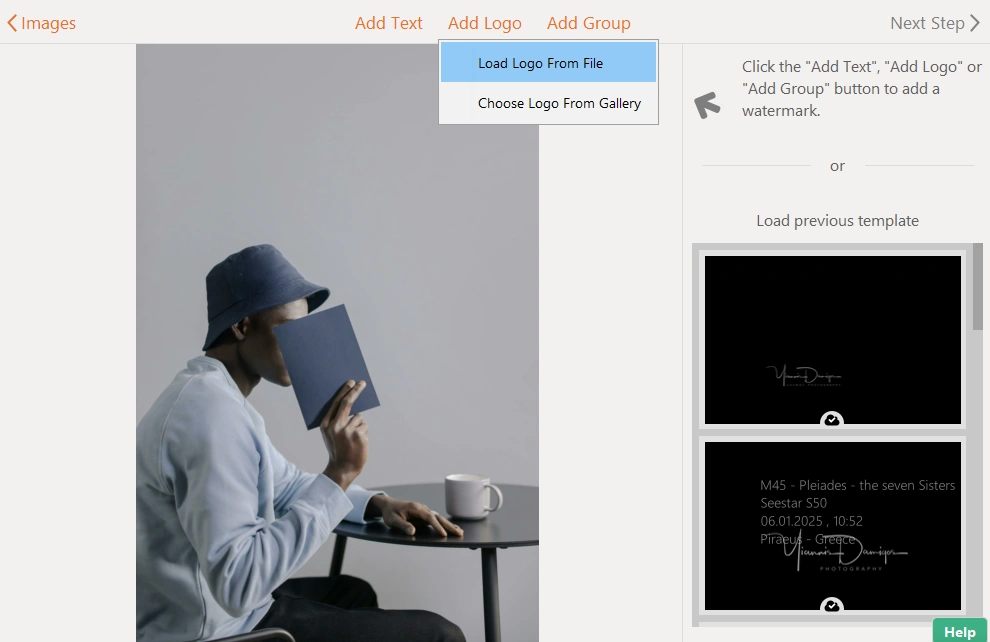
- Once the image is imported, you will see the Remove Background button appear. Click on it, if you need to remove the background.
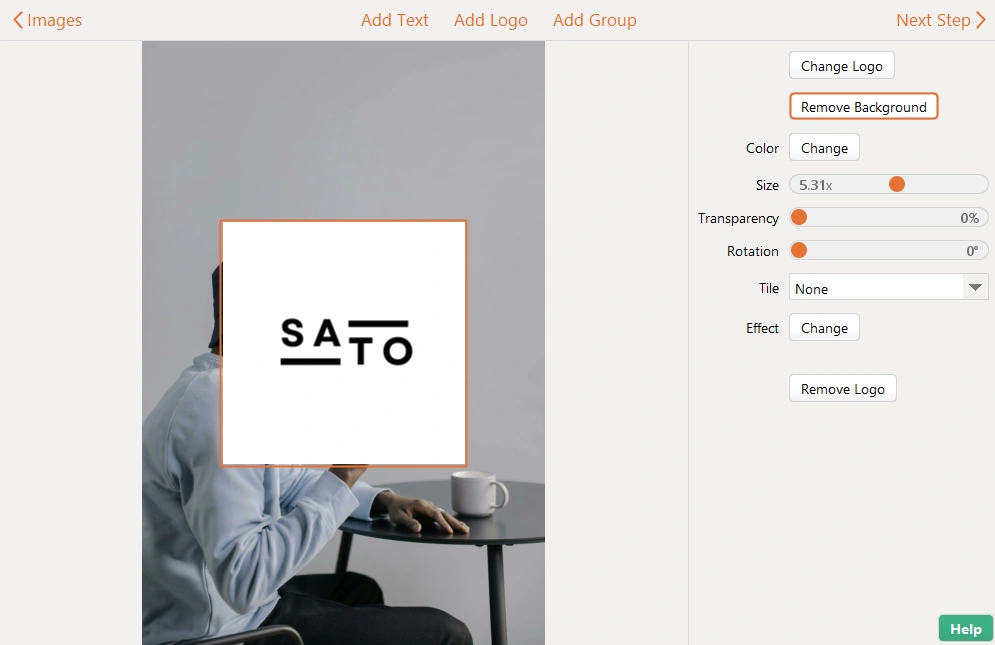
- Voila! The background is removed.
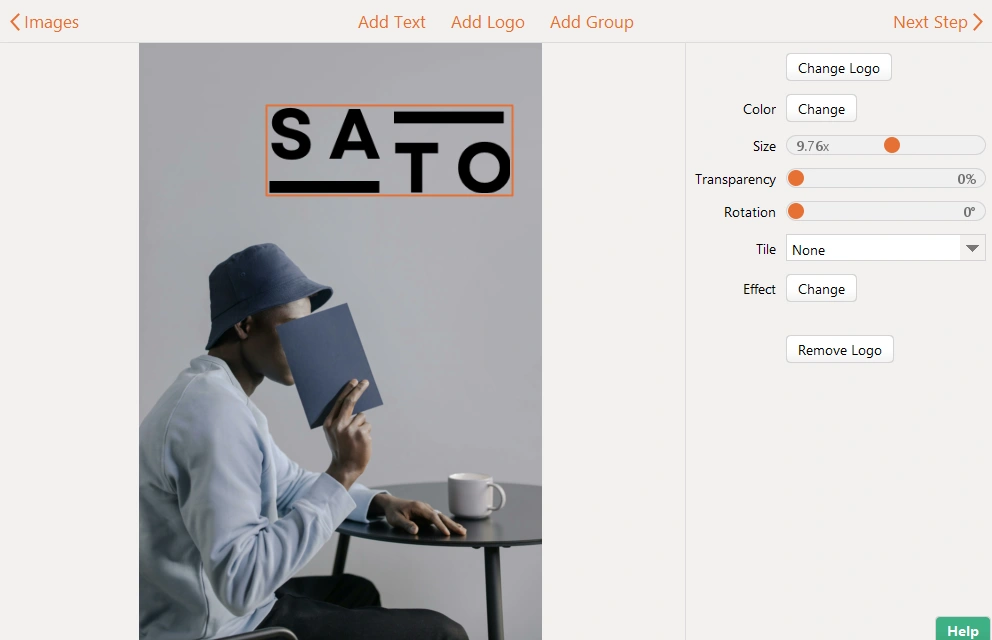
- To make your image more transparent, toggle the Transparency slider. So, yes, you will be able to remove the background and adjust the transparency of your logo in Visual Watermark.

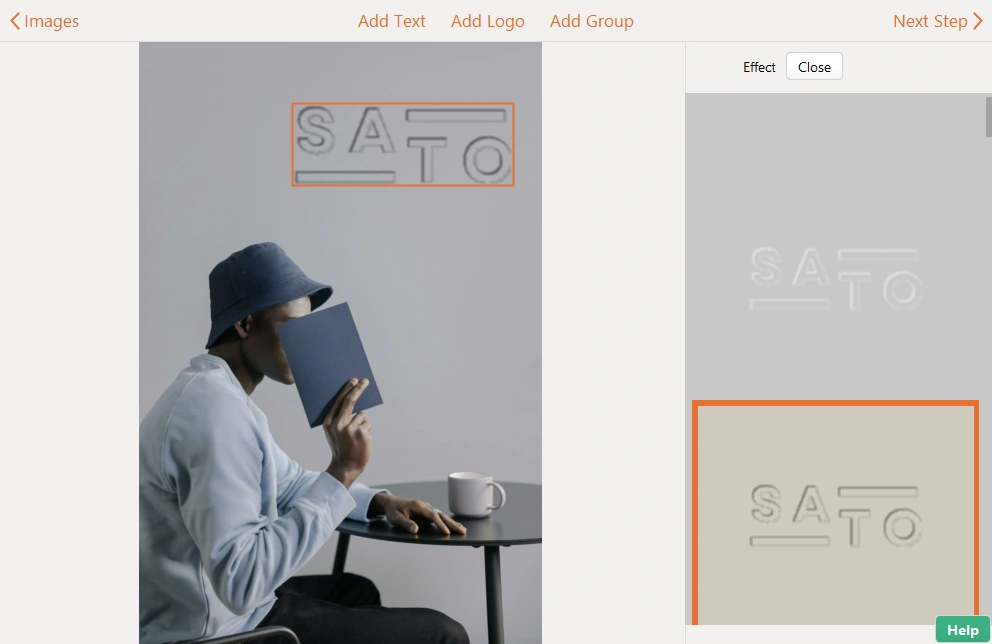
- You can also experiment with different effects.
- Make some other changes to your watermark if necessary.
- Go to the export settings and specify them.
- You can make some tweaks to your watermark on each photo in the batch in the Preview section.
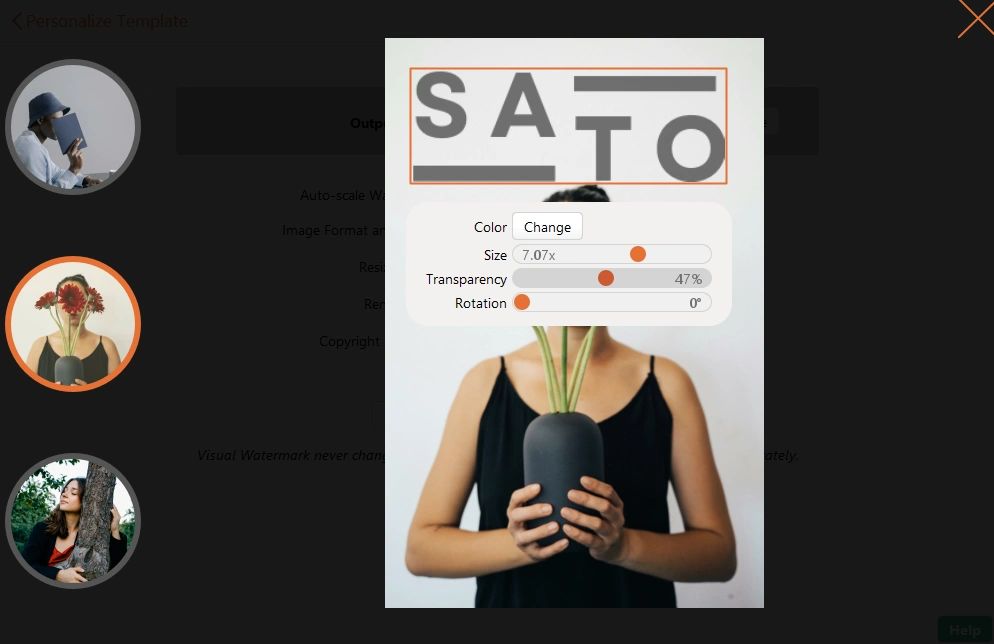
- Start the watermarking process and wait for your images to get watermarked.
As a result, you will get photos with an unobtrusive watermark.
Of course, it’s perfectly possible to add a watermark in Photoshop and watermark your images in Canva, too. However, it will require more time and effort; especially if you need to watermark several images. Visual Watermark makes batch-watermarking more time-efficient and labor-saving.
Final Thoughts
Now you know how to make a photo transparent in different ways. No matter if you need to change the opacity of your entire photo or make a part of it completely transparent, you will surely be able to do this using Photoshop, Canva, Visual Watermark, and even Microsoft Word.
Keep in mind that your choice of a method should be based on the type of project you’re working on. It’s also a good idea to experiment with different methods to determine which one suits your needs best.