As a food photographer you probably know that food needs to be photographed in a way that’s not merely visually appealing. No, a truly beautiful food photo has to evoke a particular memory, taste or smell in people’s minds. In other words, if you snapped a picture of an orange and by looking at it, people can actually feel a faint taste of an orange in their mouths, then you did a spectacular job. Your photo has to make people want to be a part of the scene, eat and drink whatever they are looking at. That’s not exactly a simple task. In fact, it can be quite a challenge.
No wonder that food photographers sometimes get in a creative rut. If you are one of them and currently looking for some inspiration, you are in luck! In this article you will find an amazing selection of different ideas for food photography. It will definitely spark your inspiration, make you want to grab your camera and start shooting!
Some ideas don’t require much, and you will be able to bring them to life quite easily. Others are a bit more complicated – you’ll need to spend some money on new props as well as time on preparation. Ideas are divided into two categories to make it easier and quicker for you to narrow down your choices and find what you are looking for.
Easy Ideas for Food Photography
Let’s start with something simple.
1. Experiment with Color Schemes
When it comes to food photography, you are in control. The choice of colors is completely up to you. And there is no doubt that this choice shouldn’t be random. It’s not a good idea to just toss a bunch of incompatible colors into a scene. Otherwise, you might end up with a photo that’s quite displeasing to the eye. That being said, there’s still some room for experimentation.
Here’s a tip – go to Adobe’s color wheel and look up various color schemes. For example, if you want to take a picture of a green cake, you can opt for a monochromatic color scheme and surround your green cake with various shades of green. Alternatively, you can go down a more popular route and opt for a complimentary color scheme. The complimentary color for green is red. So, if you want more contrast in your shot, surround your green cake with some red props.
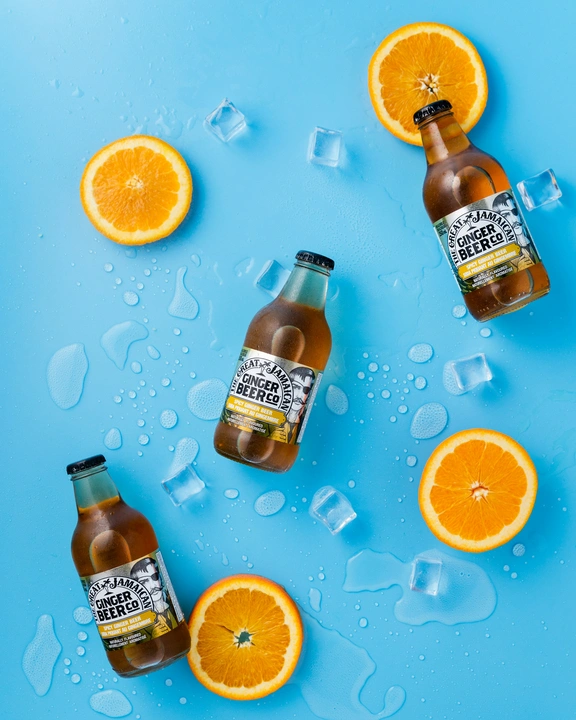
Another thing to keep in mind here is that colors tend to evoke certain feelings and associations. Colors help with creating a certain vibe and atmosphere. An abundance of warm colors in an image will create a sense of coziness and relaxation. In contrast, cool colors may be associated with freshness. Contrasting colors can add some drama into your shot and get people’s attentions.
2. Make Use of a Reflecting Surface
It’s worth mentioning right away that working with mirrors and other reflecting surfaces can be a bit tricky because you’ll need to make sure that you won’t get any reflections of yourself or your equipment. Try experimenting with different angles of shooting and look out for any reflections that you don’t want. Another way to solve this issue is to get rid of any unwanted reflections in editing.
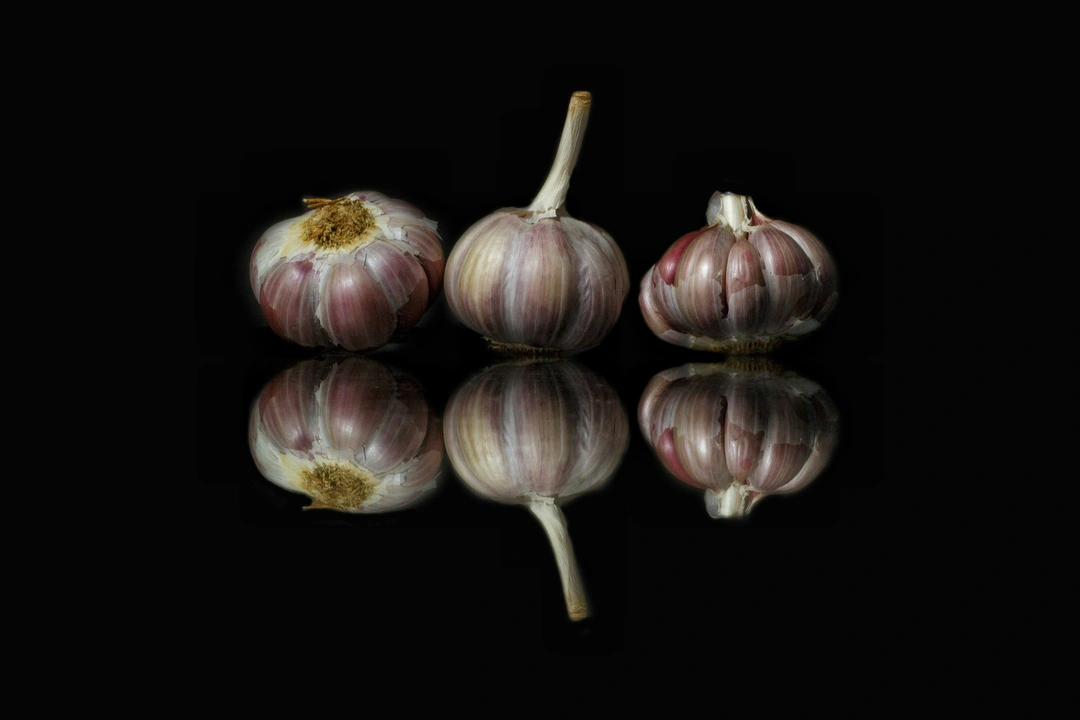
Nevertheless, there are a few things that you can do with reflecting surfaces. You can place your main object on a mirror, then take a picture of it in such a way that both the object and its reflection are shown. You can put some kind of reflective surface near the lens to create a reflection of the food at a different angle.
Another way is to use a mirror or a reflective surface to create some interesting lighting setup. For instance, you can take a flashlight, reflect the light off some kind of holographic surface and aim the beam at the background of your shot.
3. Get Inspired with Still-Life Paintings
It might not have crossed your mind to look for ideas for food photography in a museum. But you can actually get some inspiration from the classics. There’s plenty of beautiful still-life painting that you can use as inspiration. For instance, you can try to recreate a particular painting as close to the original as possible; and pay homage to art history, so to speak. Or you can simply pick up a couple of ideas for composition or overall setup.
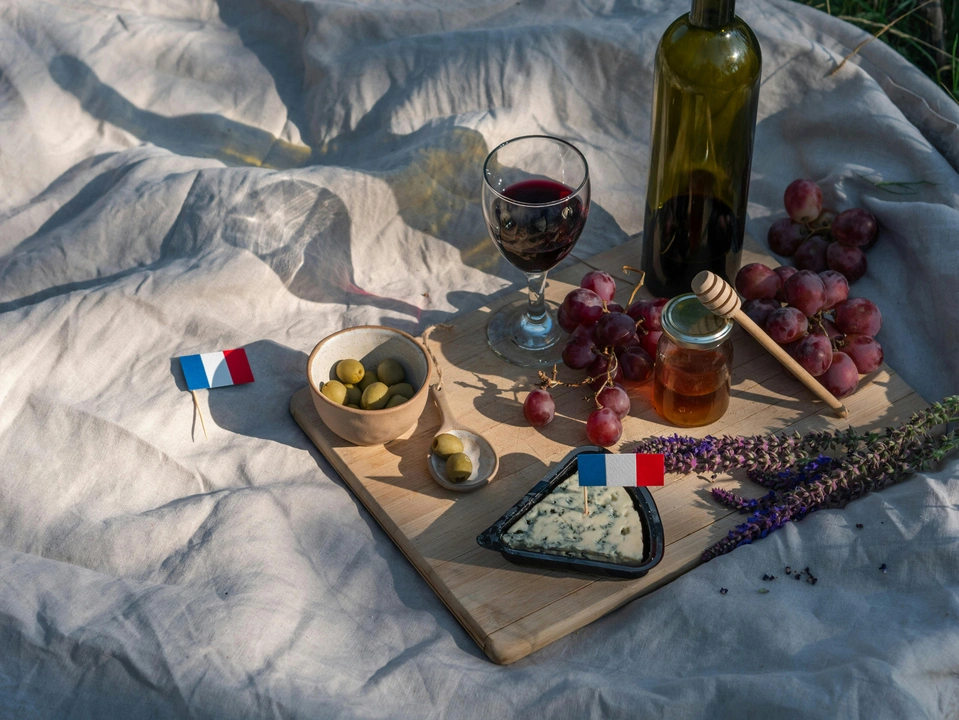
Naturally, you might need to get some vintage spoons and forks, maybe some vintage dishes and plates for this. Search for some vintage props on a flea market or online. But what’s great about this idea is that you won’t have to bother too much about the food itself looking like a work of art. Instead, you can go for something simple – use some fruits and vegetables, slices of bread and cheese. Maybe, add in a glass of wine.
Also, this will help you focus on your compositional skills. Sometimes the food you’re photographing can look so beautiful that, let’s face it, you can be quite lazy with your composition. But with food items that look quite simple, you’ll need to put in some effort into nailing the composition and creating a harmonious scene.
4. Don’t Underestimate the Beauty of Shadows
Use plants, different objects or gobo masks.
For instance, you can hold a palm tree leaf in front of your light source to create a shadow of this leaf. Another great idea is to add the shadow of a hand – for example, it’s the shadow of a hand that’s trying to grab a drink!
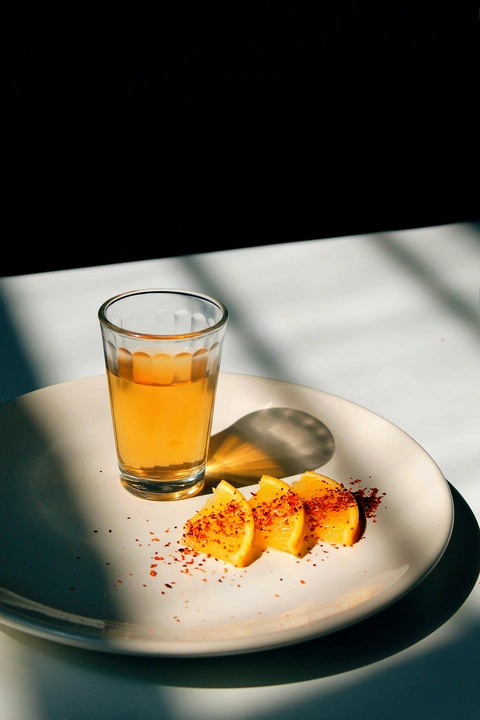
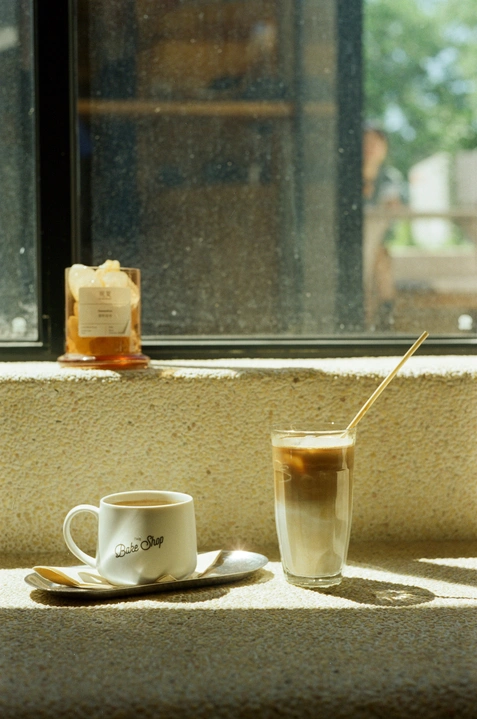
Shadows can help you create a certain atmosphere. For instance, by adding the shadow of a window frame, you can create a sense of your food standing on a table and bright sunlight shining on it. Shadows can also add some depth into your shot and make it more fascinating and attention-grabbing. You can try experimenting with harsh light and shadows cast by the props in your scene.
5. Add Some Creative Mess
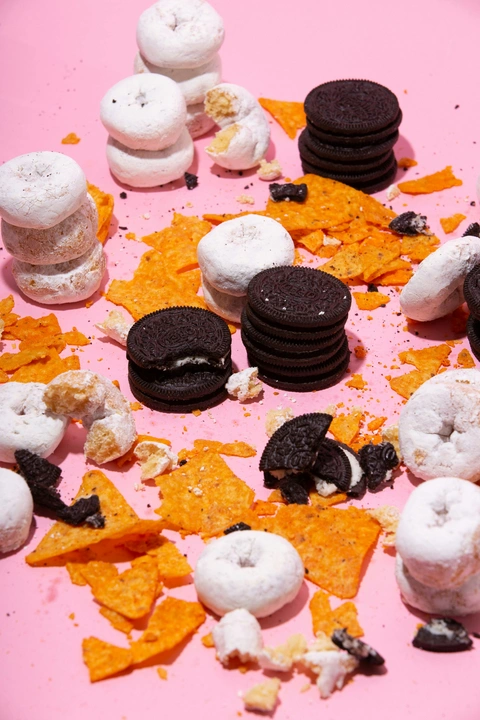
Think of the cooking process – it’s almost always messy. You spill a little flour on the counter. There are some dirty dishes standing on the table. Show this messiness in your scene!
If you’re photographing biscuits, toss a little bit of crumbs here and there. Take a picture of some chopped chocolate. Another good idea is to create some condensation or add a few drops of water to your props.
If you want to photograph beverages, try adding some splashes. In fact, splashes are quite popular when it comes to photographing beverages. That’s because a splash adds a dynamic component and some movement into the shot. However, when it comes to photographing splashes, you will need a flash or a strobe light because you’ll need to use a fast shutter speed to freeze motion.
Another tip here is to enable the continuous shooting mode – to get as many different shots as possible.
6. Play Around with Varying Heights
This will make your shot multilayered which is good as it will also add a dynamic component and make your shot more visually appealing. You can buy small stairs and use it as a prop.
Here’s another good idea for food photography – place your food on props that vary in heights. For instance, you can put one food item on a table, then another one on a plate, the third one on top of a glass and the fourth one on a cake stand. This way all the objects in your scene will vary in heights, creating different layers.
Complex Ideas for Food Photography
Bringing these ideas to life will require some time and preparation. But rest assured, all of your efforts will pay off.
1. Create a Pattern
Another idea for food photography is to create photos that’s quite similar to the works of Andy Warhol. Get a monochrome backdrop and place your food on it in a pattern or a shape that you want. Incorporating some symmetry will make the whole scene look even better.
Naturally, this will work especially well with “flat” foods or foods that look great in a flatlay.
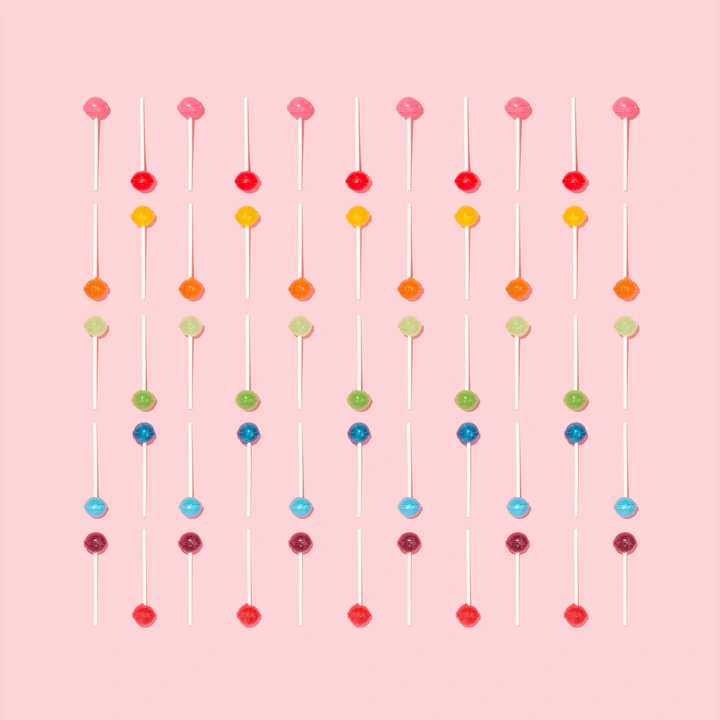
Another tip here is to consider changing the shape of the food. For instance, you can cut it into cubes or balls. Also, go for a more commercial type of lighting. Get that crisp, sharp and polished look that you always see in commercial photography. Surely, you might need some lighting equipment for this.
2. Incorporate People
Food and people are often inseparable. People cook and eat food. Food photography is supposed to make people hungry. So, one of the best ideas for food photography is to bring in the human element into your shot.
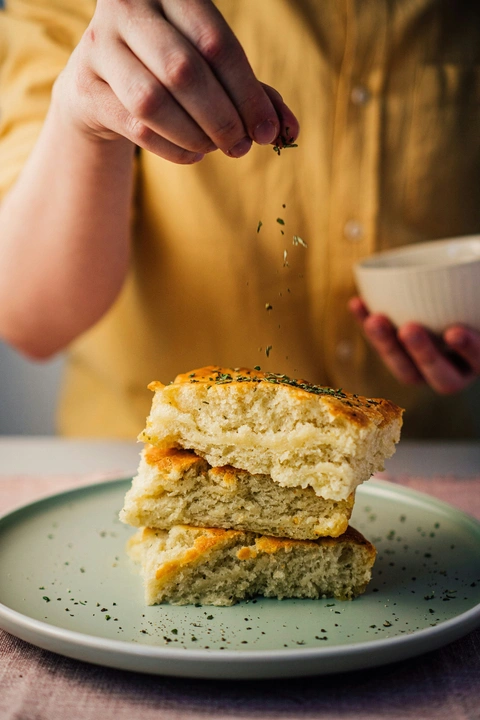
What’s great about incorporating people into food photography is that all the attention is still supposed to be focused on the food. Surely, you can take a picture of people sitting around the table and enjoying their meal. But in most cases, adding a pair of hands into the frame is more than enough.
For instance, you can take a picture of a hand holding a glass of soda or a hand holding a spoon and drizzling some salted caramel over a dessert. Incorporating people works especially well if you want to show the cooking process.
Some of you might say: “But what if I don’t have a model?”
Well, having someone to pose for you will undoubtedly make the photographing process easier. But if all of your potential models are busy, you can be a model yourself! That’s right, you can practice both food photography and self-portrait photography at the same time. Surely, this will make things a tiny bit difficult and time-consuming, but it’s definitely worth a try!
You will need a wireless remote control or, even better, an app that can connect your phone to your camera via wi-fi. The latter option is more convenient and will give you more control because you’ll be able to see yourself on the screen of your smartphone as well as change the camera setting if necessary.
3. Take a Picture of Someone Taking Picture
Speaking of incorporating people. Break the fourth wall, so to speak. A lot of people take pictures of food on their smartphones these days. Ask a friend to help you out and pose with an iPhone or with another camera.
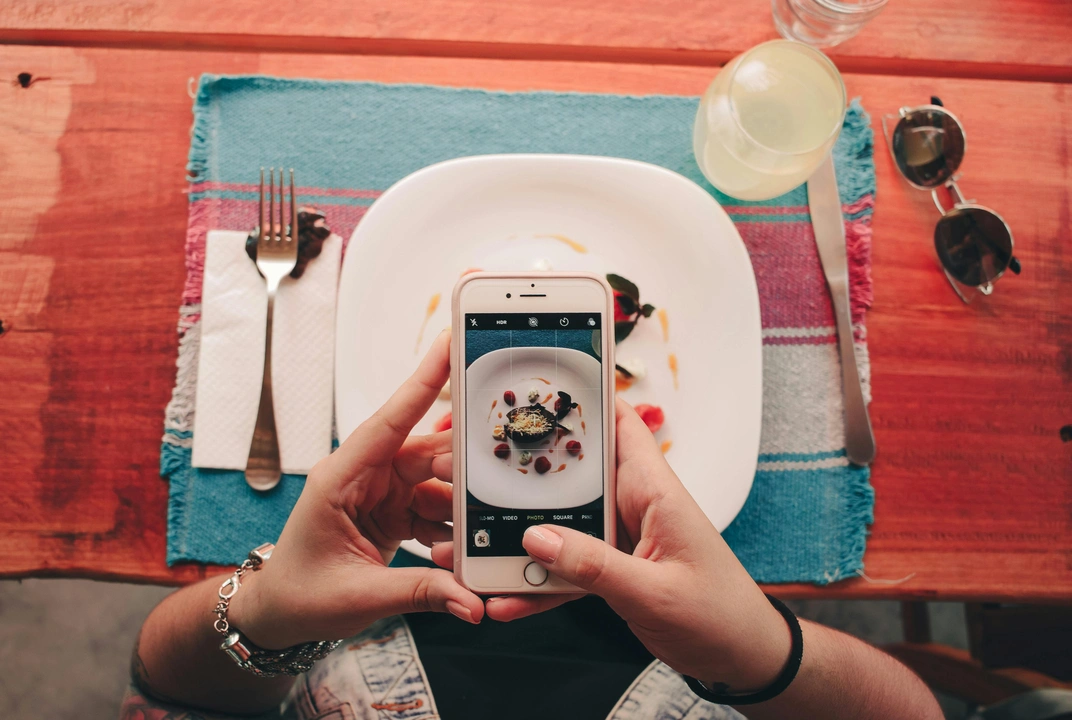
Take a picture of your friend taking a picture. You can go even further!
Put your camera on a tripod, place your main subject on some kind of pedestal, then ask your friend to pretend like they are taking a picture of the main subject. But your friend will need to give you different poses from different sides. And you have to take pictures from the same spot and the same angle. Then you combine these shots in Photoshop – it should look as if a bunch of people are taking pictures of the main subject. Like your main subject is a star surrounded by paparazzi.
4. Bring in Some Levitation Magic!
This idea for food photography will be suitable for more advanced photographers rather than beginners. But, the results will look absolutely breathtaking!
As you might’ve guessed, you’ll need to create the illusion of food items levitating. If you want to try levitation photography, you’ll need a few things; after all you can’t literally levitate the items.
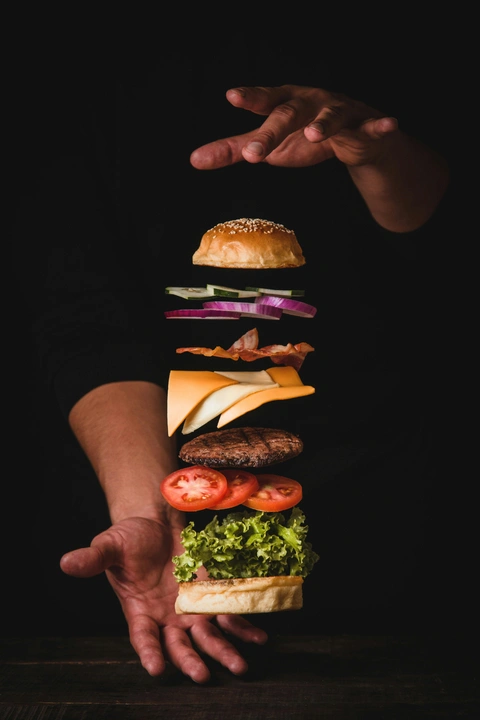
First of all, you’ll need a glue gun – it will help you glue the food onto stands, skewers or knitting needles. Secondly, you’ll require some clamps and supports – something that you’ll mount your food items on. Some people also use thick threads that are drawn between two stands or boxes. Levitation photography is quite time-consuming because there’s not only a lot of preparation, but also a lot of editing – you’ll need to make all the clamps, supports and bits of glue invisible in Photoshop.
Prep Your Food Photos for Social Media
People often think of watermarks as a tool to protect their images against unauthorized use. But they can greatly help you with raising brand awareness, as well. You can add your logo to photo, your brand name or social media handle to the visual content that you post online. In fact, you can combine your logo with your social media handle. That would be even better! Your followers will see your logo more often and, thus, remember it better.
On top of that, unfortunately, it’s not uncommon for people to steal images online or, at the very least, share them without giving the credit to the author. If people know that your visual content is yours, they will be able to find your accounts no matter what and follow your work. Some of them might even be your potential clients!
With the help of Visual Watermark creator, you can add a watermark to dozens of images in one go. This can be incredibly useful if you are starting a blog about food photography. Learn more here - How to add watermark to photos.
But that’s not all! On Visual Watermark’s website, you can find an array of tools that can help you prepare your visual content for publishing online. For instance, our Image Crop Tool has presets for popular social media. With them, you’ll be able to get images that have the necessary aspect ratio and pixel dimensions. If you are planning on posting images on your website, you can make use of the Compress Photo Tool. With it, you’ll be able to compress images and drastically decrease their file size which is exactly what you need to optimize your images for the web.
Final Words
Has this article given you some ideas? Are you feeling inspired? If yes, then grab your camera and get to work! If you still feel like you’re in a bit of a creative rut, start with something simple. It’s always easy to start with something simple, isn’t it? Then, once the ball is rolling, you can try to mix and match different ideas for food photography that you found in this article.
Normally, food photography requires some planning, but here’s a final tip – don’t worry if you don’t have a fully formed idea yet. You can simply grab some food, props and equipment and start shooting. Try out different compositions. Arrange and rearrange food and props. There’s a high chance that inspiration will come to you in the process.
 Visual Watermark
 by
by 