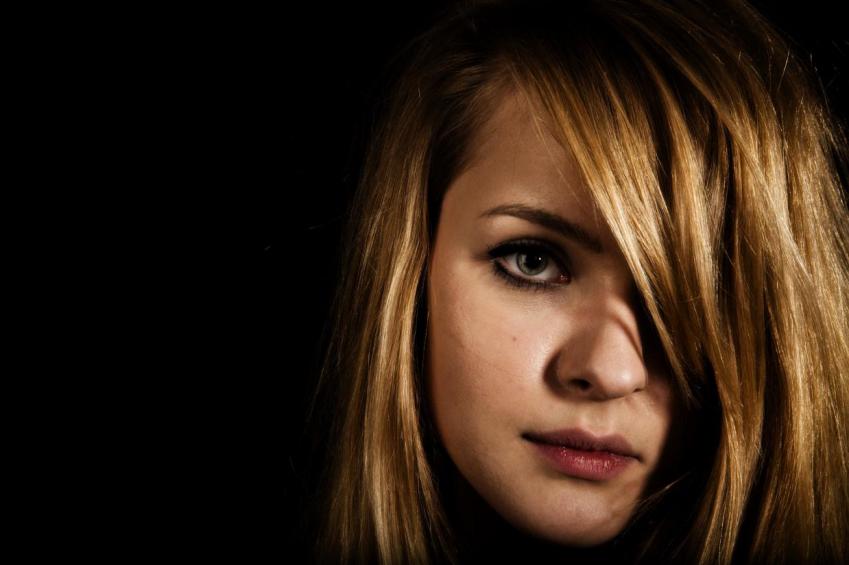
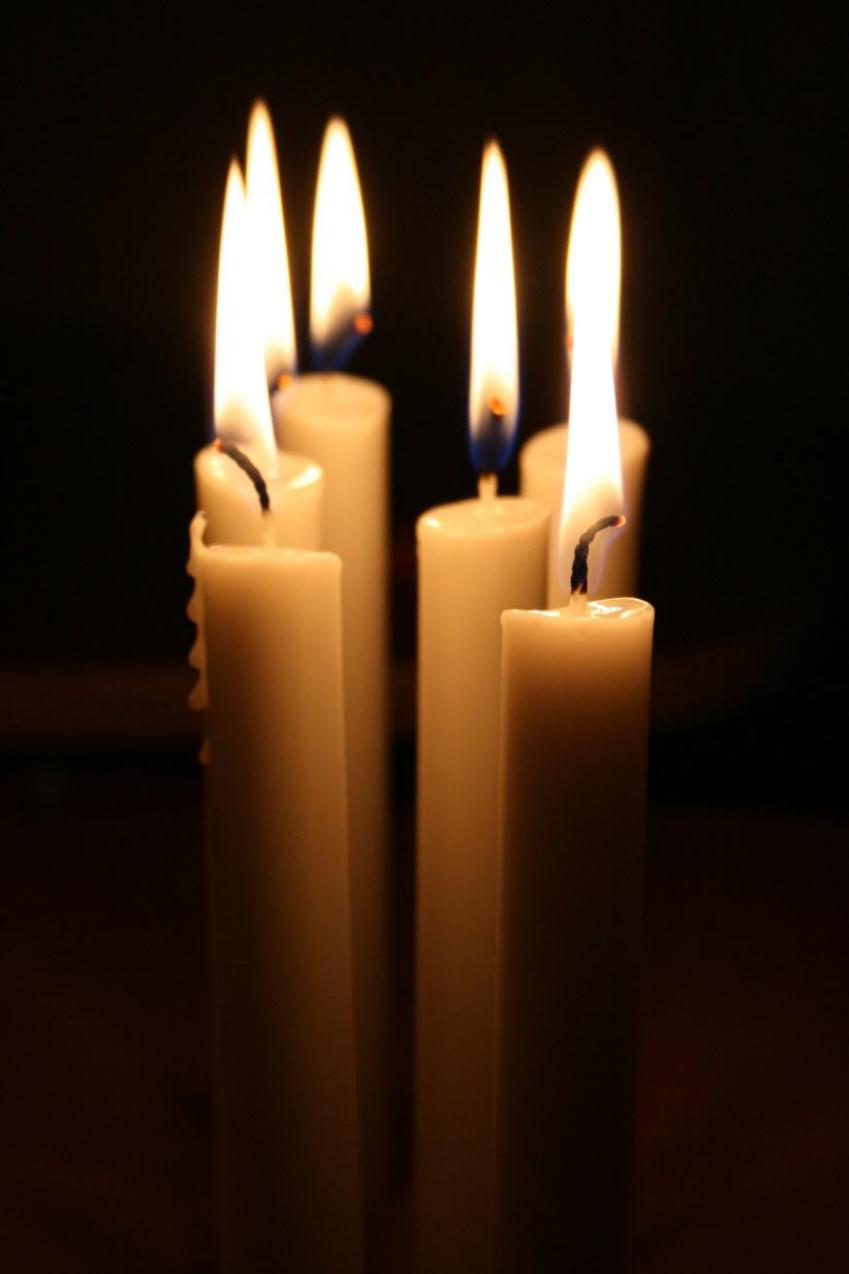
Have you ever dreamt about a unique ability to fix all the pictures that you see in the way they really are? Of course, camera is a great tool to capture life moments and safe them in the forms of computer files or glossy printed photos. But what about those tremendously sad situations when objects of your photoshooting sink in the deep darkness? Are there any ways out or flotation rings to rescue your model from the dark? Yes, they exist, be sure of this. And we’ll tell you even more – they are rather numerous. Let’s just find them out.
What’s in our tool bar?
Honestly speaking we will need nothing special. A standard digital SLR with a fast lens (2.8 or more) and the ability to capture images with a high light sensitivity. If you use a P&S camera then you may have troubles getting good pictures in dark spaces, because its disadvantages will be more remarkable under such conditions.
Truth of the whole photography art lies somewhere between the following words: “No matter what device you have, the result of your work mostly depends on its parameters intelligently set and your skills”. Believe that you can have wonderful pictures even if you camera costs 100 dollars.

Image© maselkoo99
Fundamental camera characteristics
- The exposure. You’ll need to choose a very high light sensitivity (from 800 to 1600, although some cameras allow the usage of 3200 or even more), low speed of shutter and set the F-stop to the extent from 2.8 to 4.0. Those who use P&S devices can set the “night mode” with standard performances for shooting in the dark. Take into account: automatic mode settings won’t consider the particular details of your photoshooting. An inevitable disadvantage concerns the production of too much noise due to the high ISO settings.
- The shutter. You have to set the preferred shutter speed according to your event. As a rule, sports competitions are held in well-lit rooms, so it is desirable to choose the speed of 1/200 or higher. Dancing halls have worse lightening and the shutter speed should be reduced to 1/60 or 1/100. If you photograph such events like speechification then the optimal speed is below 1/60, when taking pictures in museums, you can reduce the speed even more. But never forget that the lowest shutter speeds require a lot of stability.
- White Balance. Understanding of this point save lots of your time for failed experiences. Most of SLR cameras have the ability to automatically change the color balance, depending on whether you’re photographing white or gray objects. If you can not do it manually, try default settings of your camera and look at the samples to see the best option settings.
Additional lightening is exactly needed!
The total absence of light or a big short of it provokes the strong necessity of additional light sources. The main thing here is to choose not only the appropriate device, but also place it correctly. Put an artificial light source in any corner opposite to the one where your model is sitting. If you wish to create the effect of sunny daylight – use a reflector.
- Try different modes. This short and simple tip is useful practically always. But when you are shooting in the dark or with bad light conditions it is valuable more than ever.
- The camera should be as immovable as possible. Even a too slow jerk of hands or breath will lead to the appearance of blurred effects in your pictures. If there is no tripod available, then firmly lean against wall or other heavy object and hold your breath for a second. One more crucial detail concerning this matter – use the timer or (if it not possible) press the shutter button very accurately and gently. Anyway, never hold your camera without any support.
- Avoid noisy pictures. Most cameras and lenses have the option of image stabilization that makes camera shakes unnoticed on pictures.

Image© Gretta
Post-processing of pictures is also the way to add more light to your works. Computer software makes it possible to reduce level of noise, but weigh all pros and contras before doing it because detalization of your images may suffer.
As you’ve already understood, the situation requires pretty high skills of working with the manual mode. Take into account that an omni-purpose method hasn’t been invented yet. Why? As easy as a pie! No universal set of photography tools and technics could be ever applied. Only individual practice and professional intuition helps achieve all planned goals.
 Visual Watermark
 by
by 