Aperture is photo management software for Mac that allows you to store and refine high volumes of photos. All images are stored in a special folder called library. This means when importing photos from a camera memory card Aperture copies them into an internal storage (“library”). You can easily erase your memory card while Aperture will store original photos for you on your hard disc.
However, this makes photo watermarking a bit inconvenient since Visual Watermark maker cannot retrieve images from the library, only Aperture can. You should export your photos from the library first. This tutorial shows how this can be done.
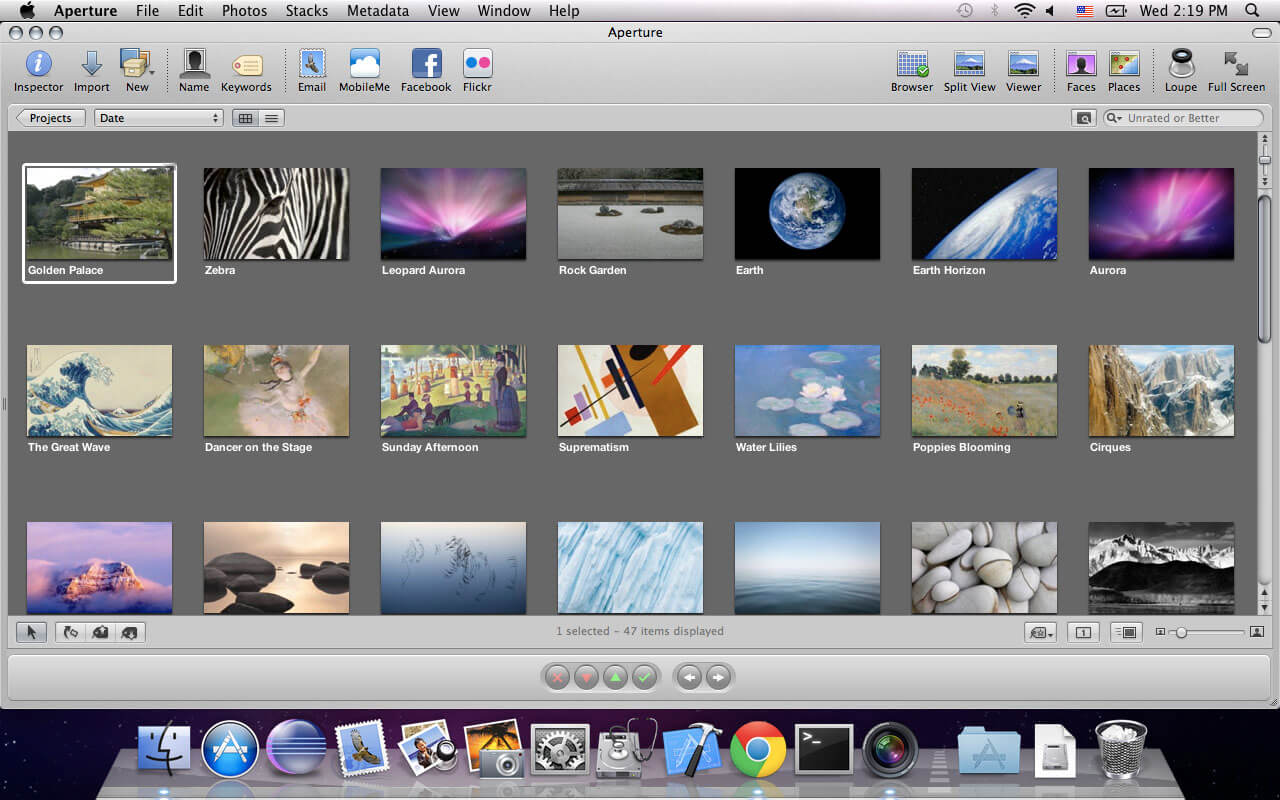
This is a screenshot of a project in my library. Press the Command-A shortcut to select all photos in it. Check that all images got a white frame around them. This means they are selected for export.
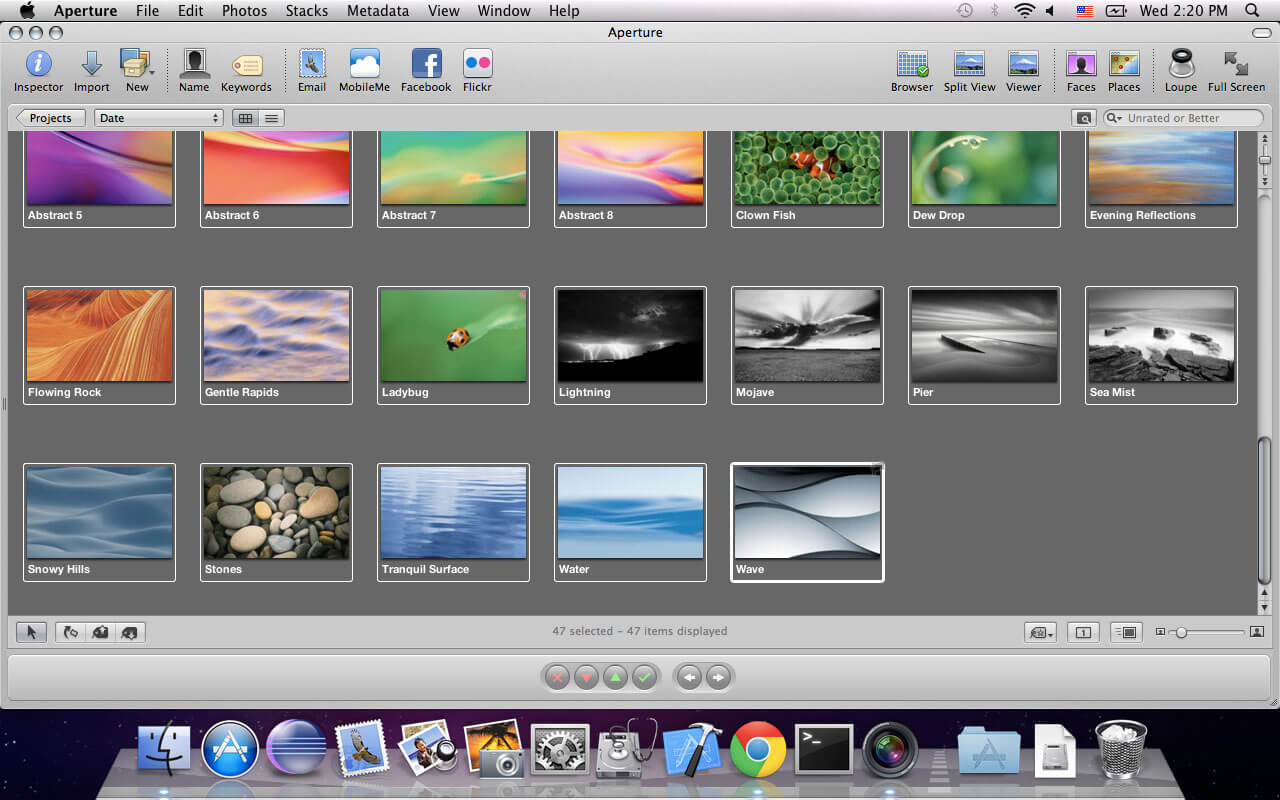
Press Shift – Command – S to open “Export Masters” dialog. If you have troubles pressing this shortcut, hold Control and mouse-click any photo in your library. Select the Export – Masters menu item.
If you previously edited your photos or your photos are stored as RAW files, you may need to select the Export – Versions menu item. Its shortcut is Shift – Command – E. You should select JPEG – Original size export preset when asked.
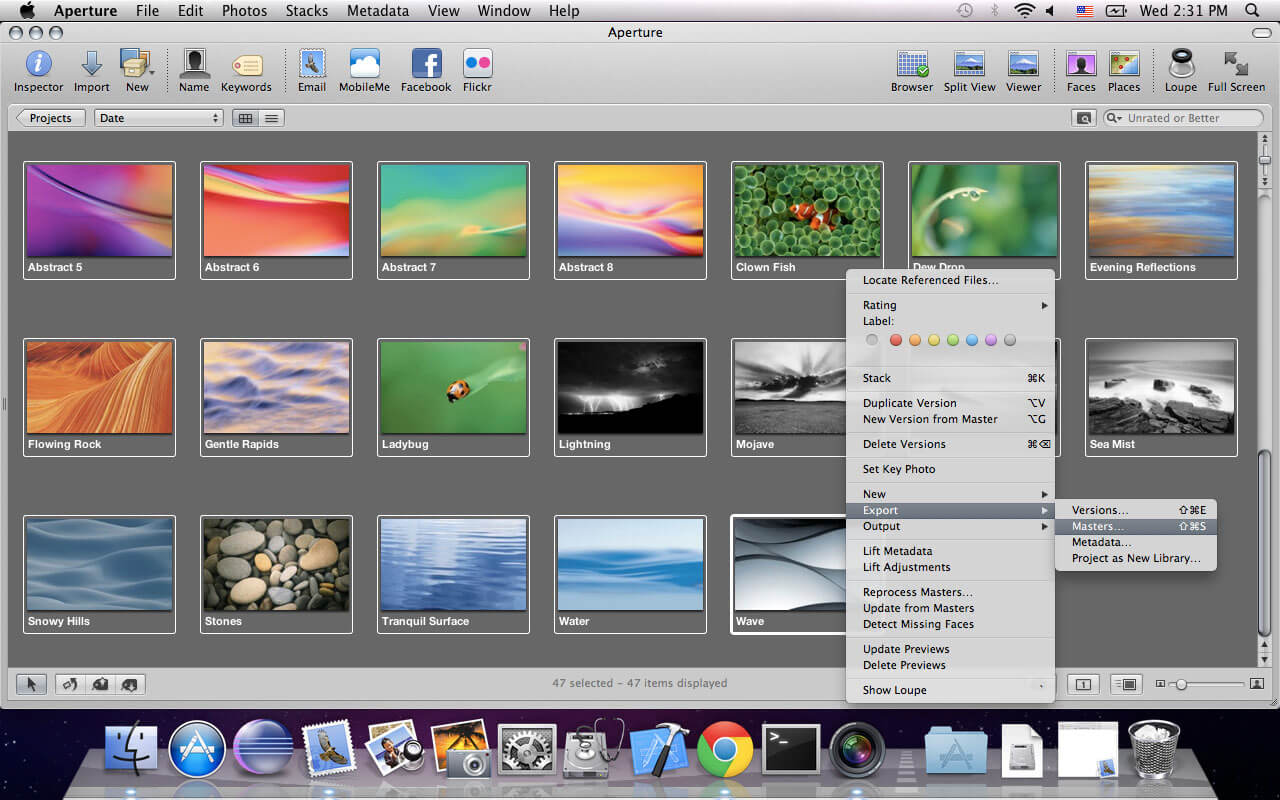
An “Export Masters” dialog will open. Navigate to any folder on your hard disc, say “Desktop”. Open the Subfolder Format list and select the Custom Name option.
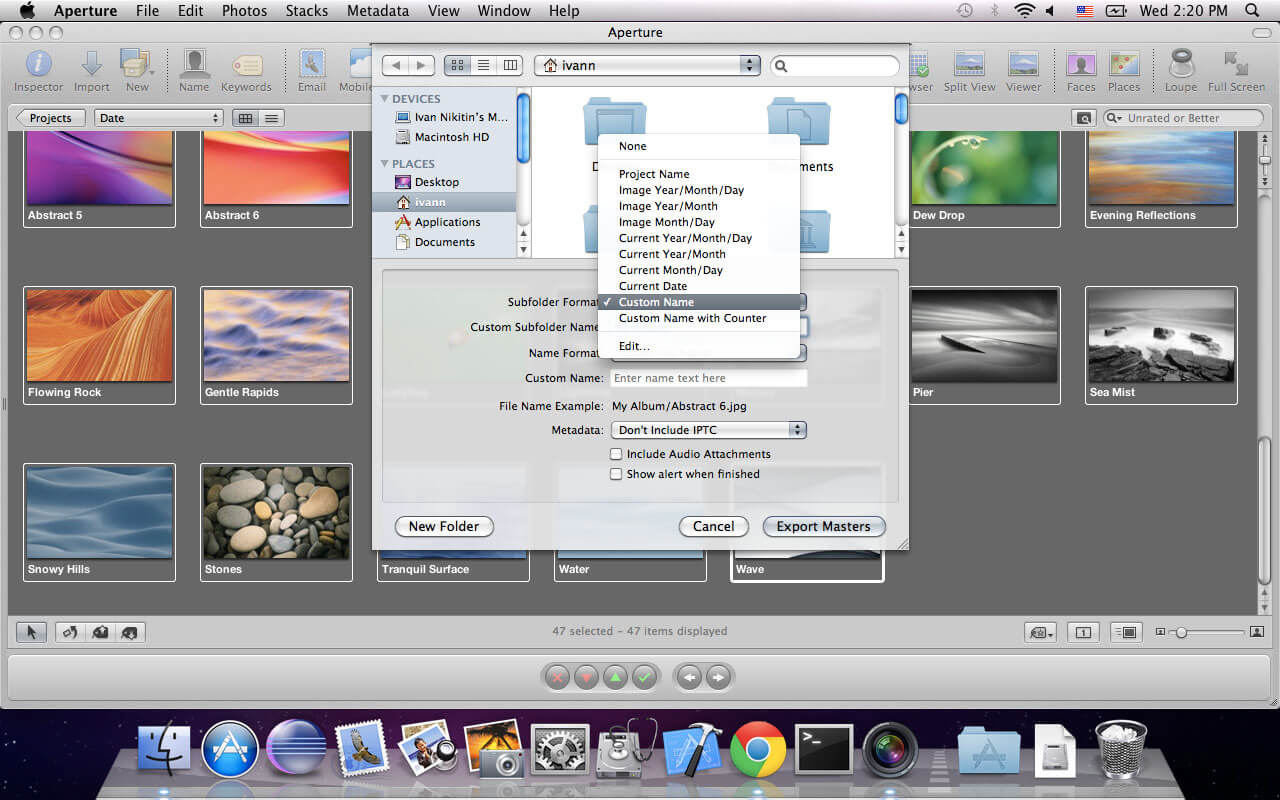
Type a name for the subfolder that will contain your photo originals. Press the Export Masters button. This will create a folder on your hard disc with master versions of your photos in the project selected.
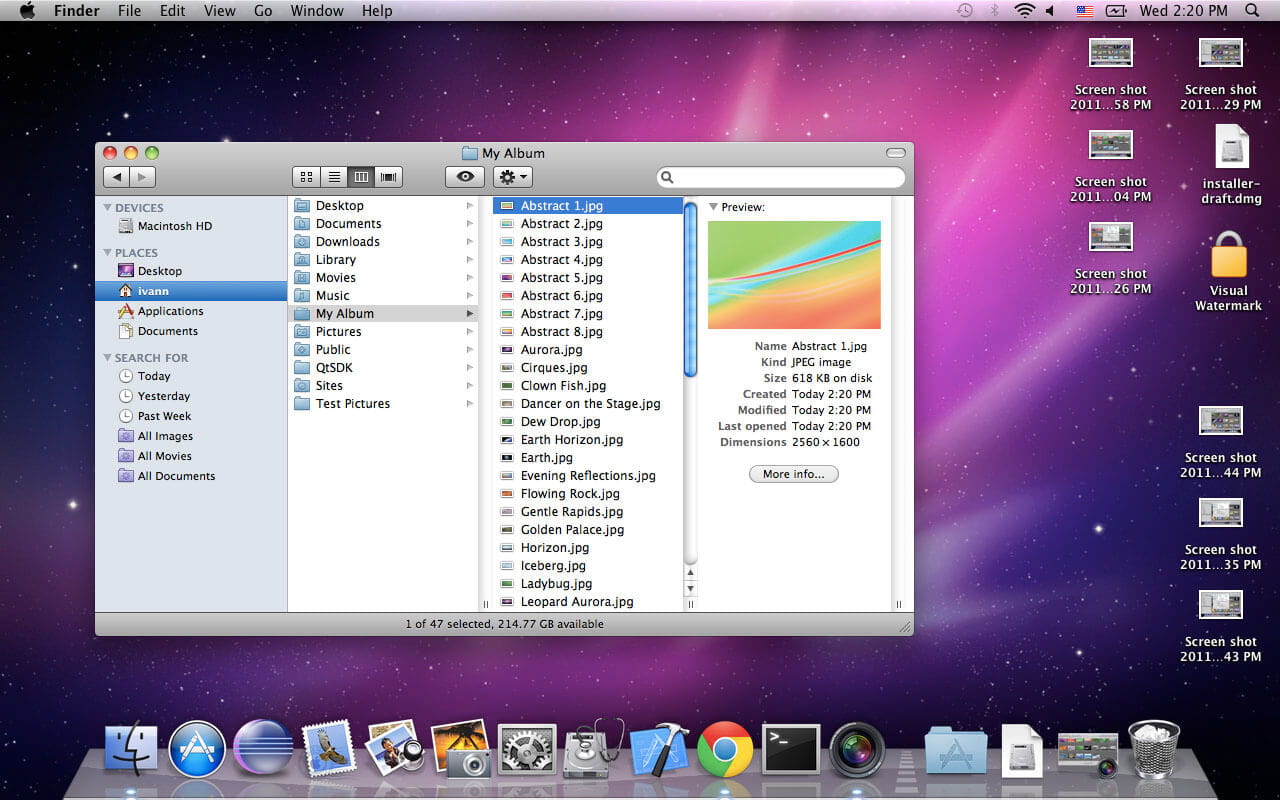
Now, you can select this folder in Visual Watermark and watermark these photos.
If you wish to import them back to the library, you should use the Import function in Aperture. This will create a new project for them.
If you need any further assistance, please drop a comment below.
If you want to finish watermarking faster and easier, download Visual Watermark - batch photo watermark software.
 Visual Watermark
 by
by 