If you are having problems with Visual Watermark for Mac – we may ask you to send us a “Console Log” so that we can see what the problem is. Here are the steps for doing that if you are using a Mac.
Note: These steps assume you have the latest Java update from Apple Computer. If you have any doubts, be sure to run “Software Update” and then restart your computer.
Use the Finder to open the Utilities folder

First, click on the Finder icon in your Dock (#1) to bring up a Finder window. Then click the “Go” menu (#2), find the “Utilities” item under it and click on it (#3). The “Utilities” window will appear.
Open the Console app that’s inside the Utilities folder

Scroll down to find the Console tool and click on it. A Console window will appear.
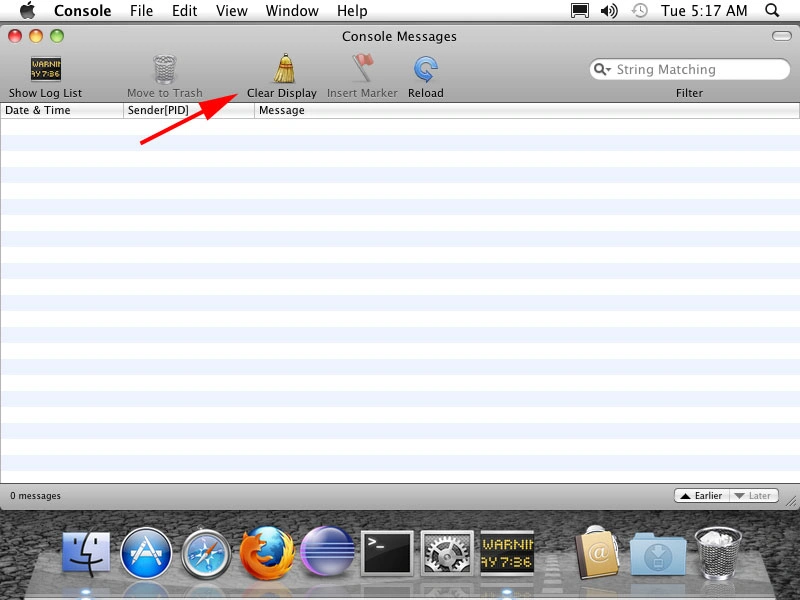
Click the “Clear Display” button to remove all existing messages

Start Visual Watermark and reproduce the problem
Double click the icon of our watermark creator and reproduce the steps that cause the problem.
Do whatever it was that caused the original problem that you wrote to us about. Make sure that the Console is open while you are recreating the problem. Once the problem occurs, hopefully the Console window will look similar to the example bellow.**

Click the “File” menu item and “Save a Copy As…” item under it. You will be prompted for a file name and an output folder. Save the file to the “Desktop” or to the “Documents” folder.
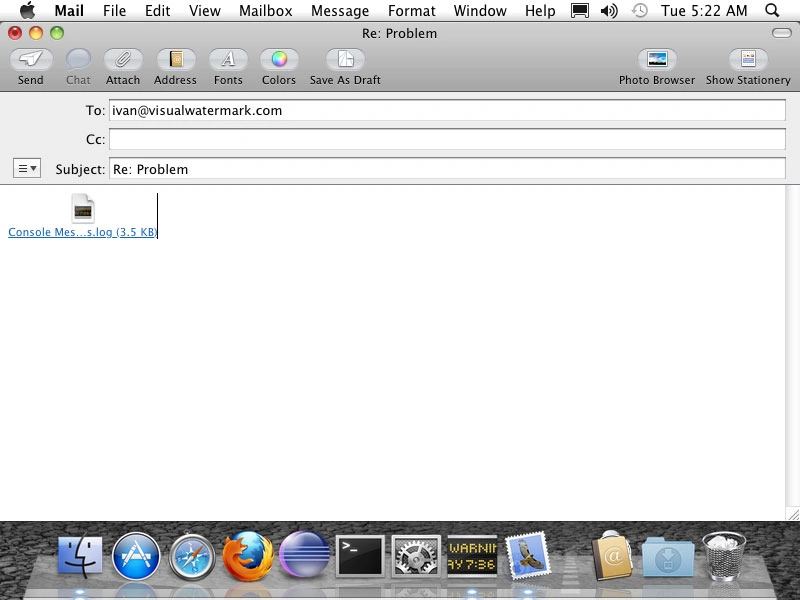
Email us the log file you’ve just saved

Locate the previously saved file and attach it to an email message. Add any additional comments that you want and then send the message to us. Thanks! The Console Log usually helps us get to the bottom of things pretty quickly.
 Visual Watermark
 by
by 